Concept, design, programming and assembly by Mischa Pakhomoff
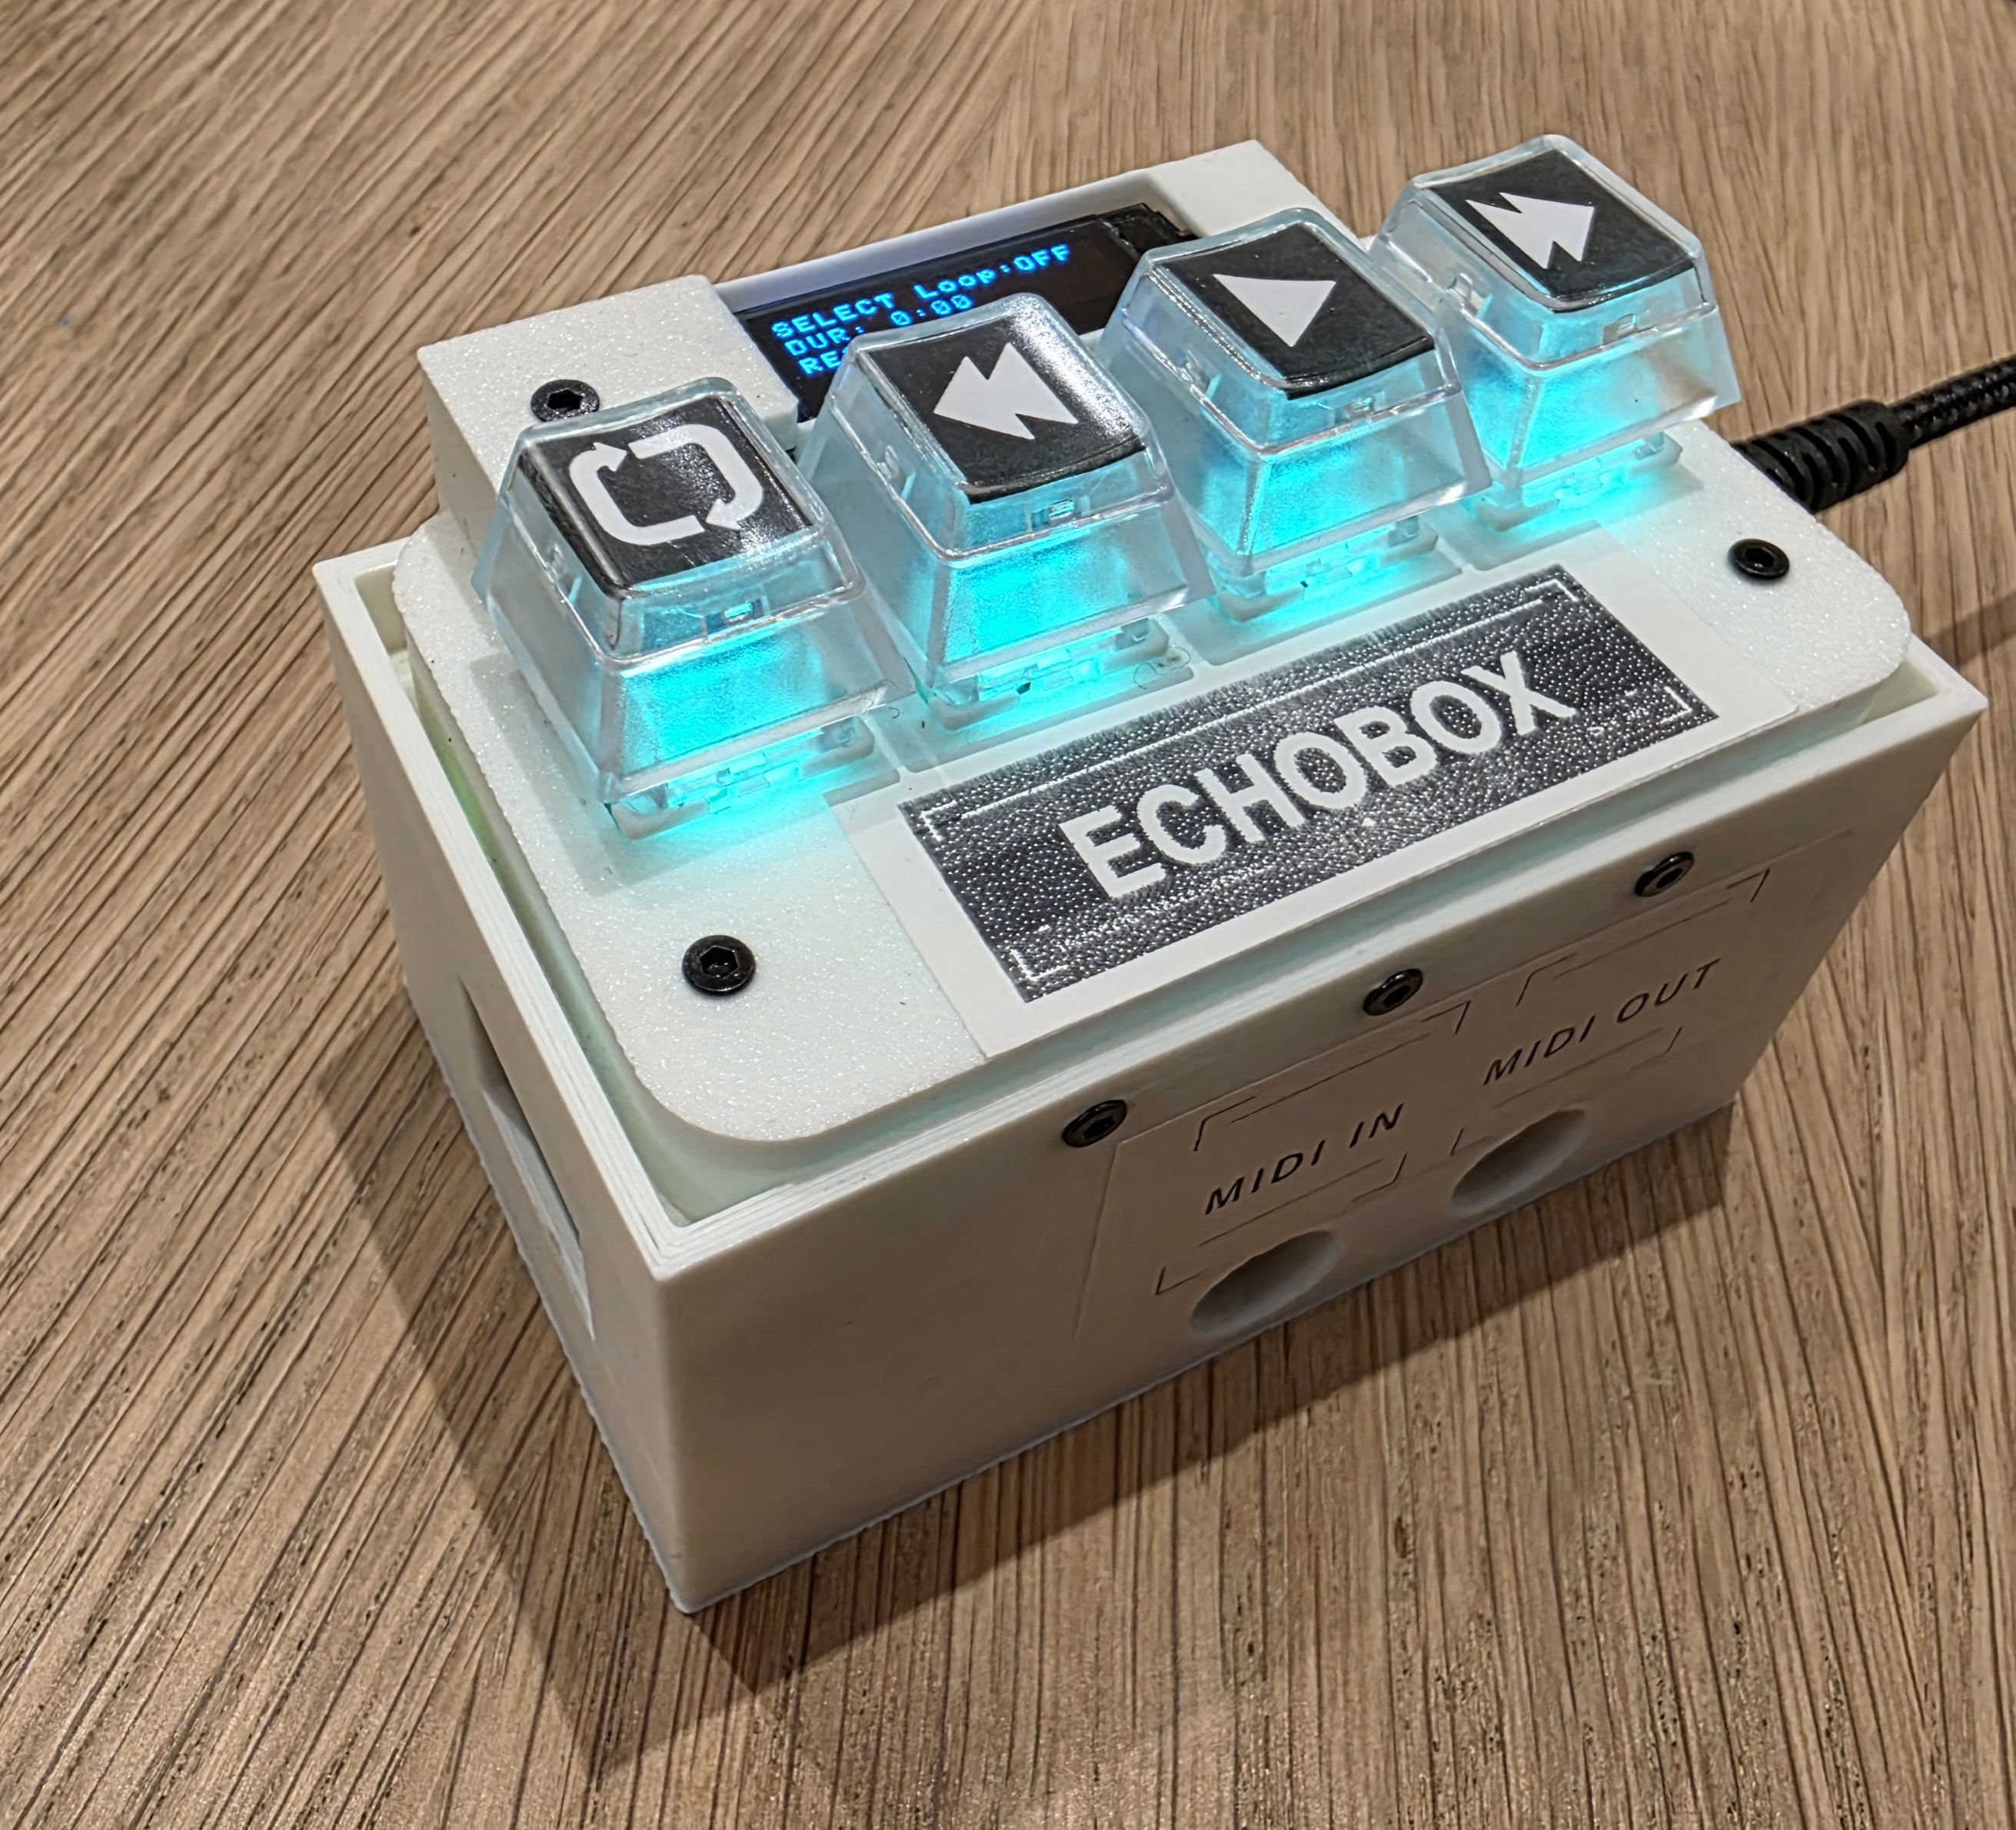
The EchoBox records your MIDI performances in real time and plays them back as seamless loops — all with four physical buttons, no computer required. The screen has been designed to be minimal, no menu diving, just enough to help, but not enough to hinder.
| Feature | Detail |
|---|---|
| Recording | Starts automatically when you play MIDI notes |
| Storage | The SD card stores your files with date/time stamps |
| Loops | Seamless infinite loops with less than 2ms gap |
| Upload | Load .mid files to EchoBox to playback on your piano -via WiFi or SD |
| Display | Provides minimal information |
EchoBox needs you to set the time and date so the timestamps are accurate. Set the clock once on first use via WiFi mode (see WiFi File Management for full details):
 +
+  while powering on or when already on, LEDs glow blue at ~1 second, then flash blue 3×, when the lights are steady blue you are in Wifi mode.
Note: The clock is battery-backed (which will need changing one day!) and keeps time when the device is powered off.
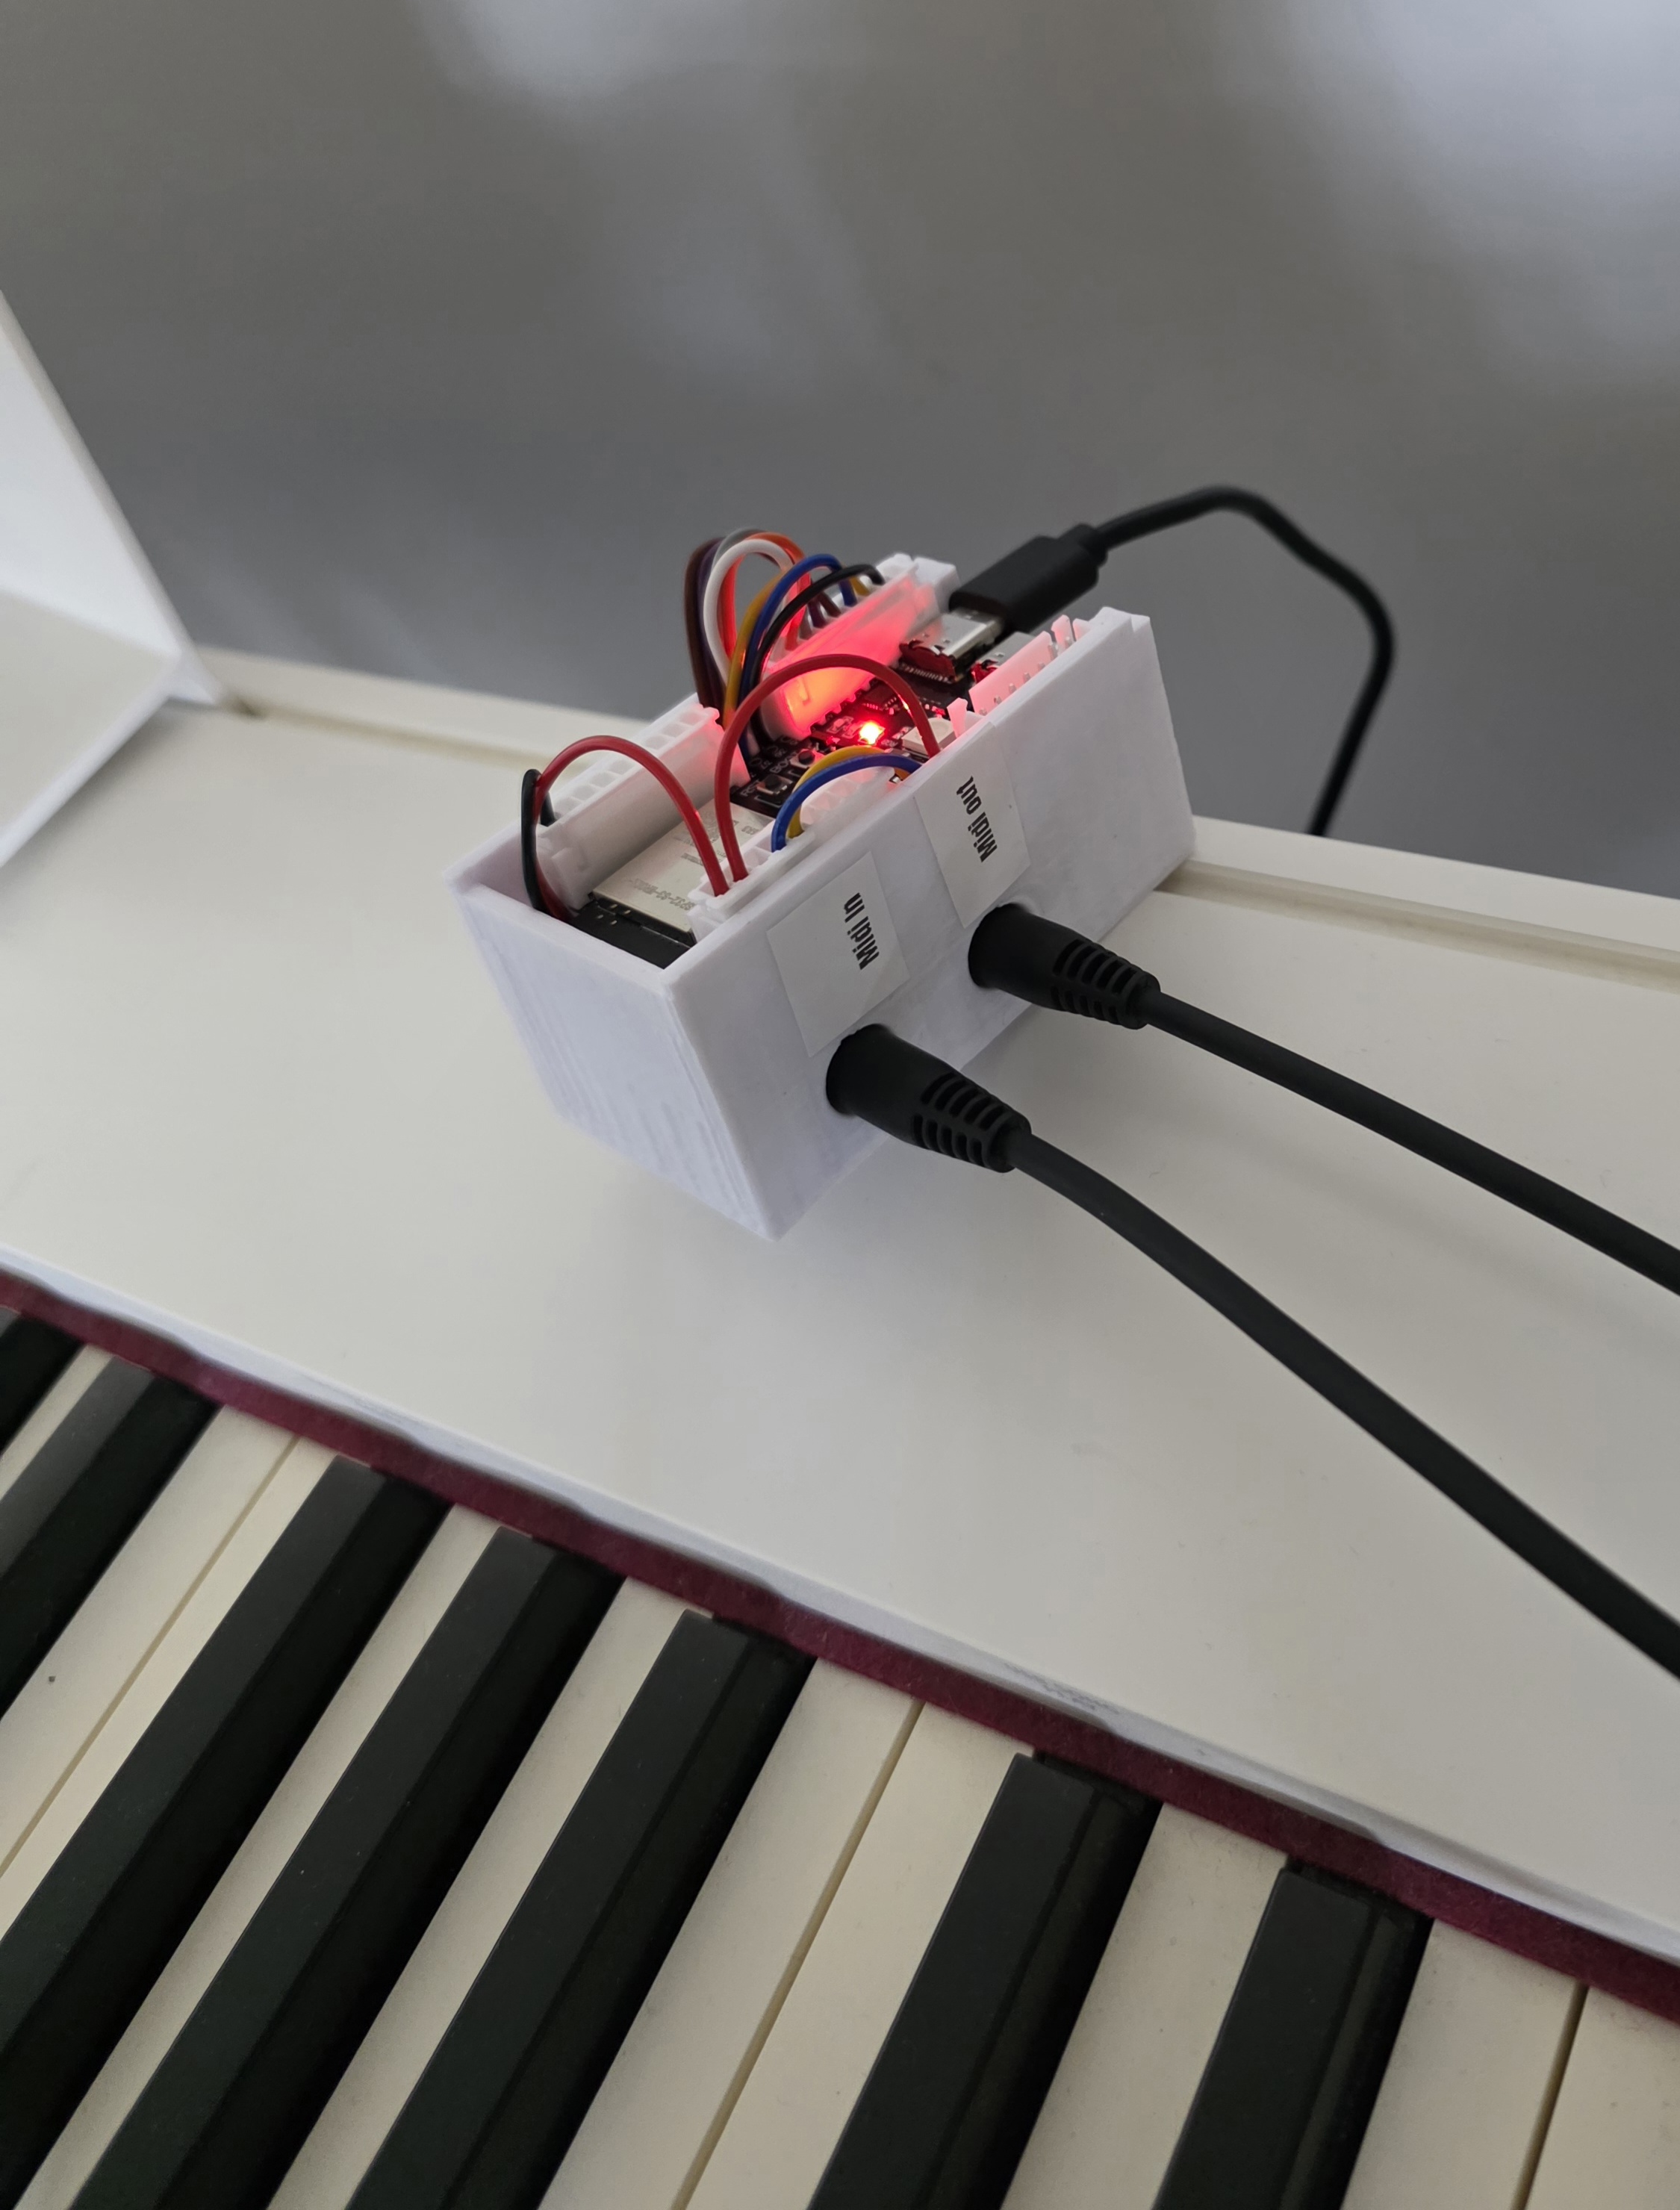
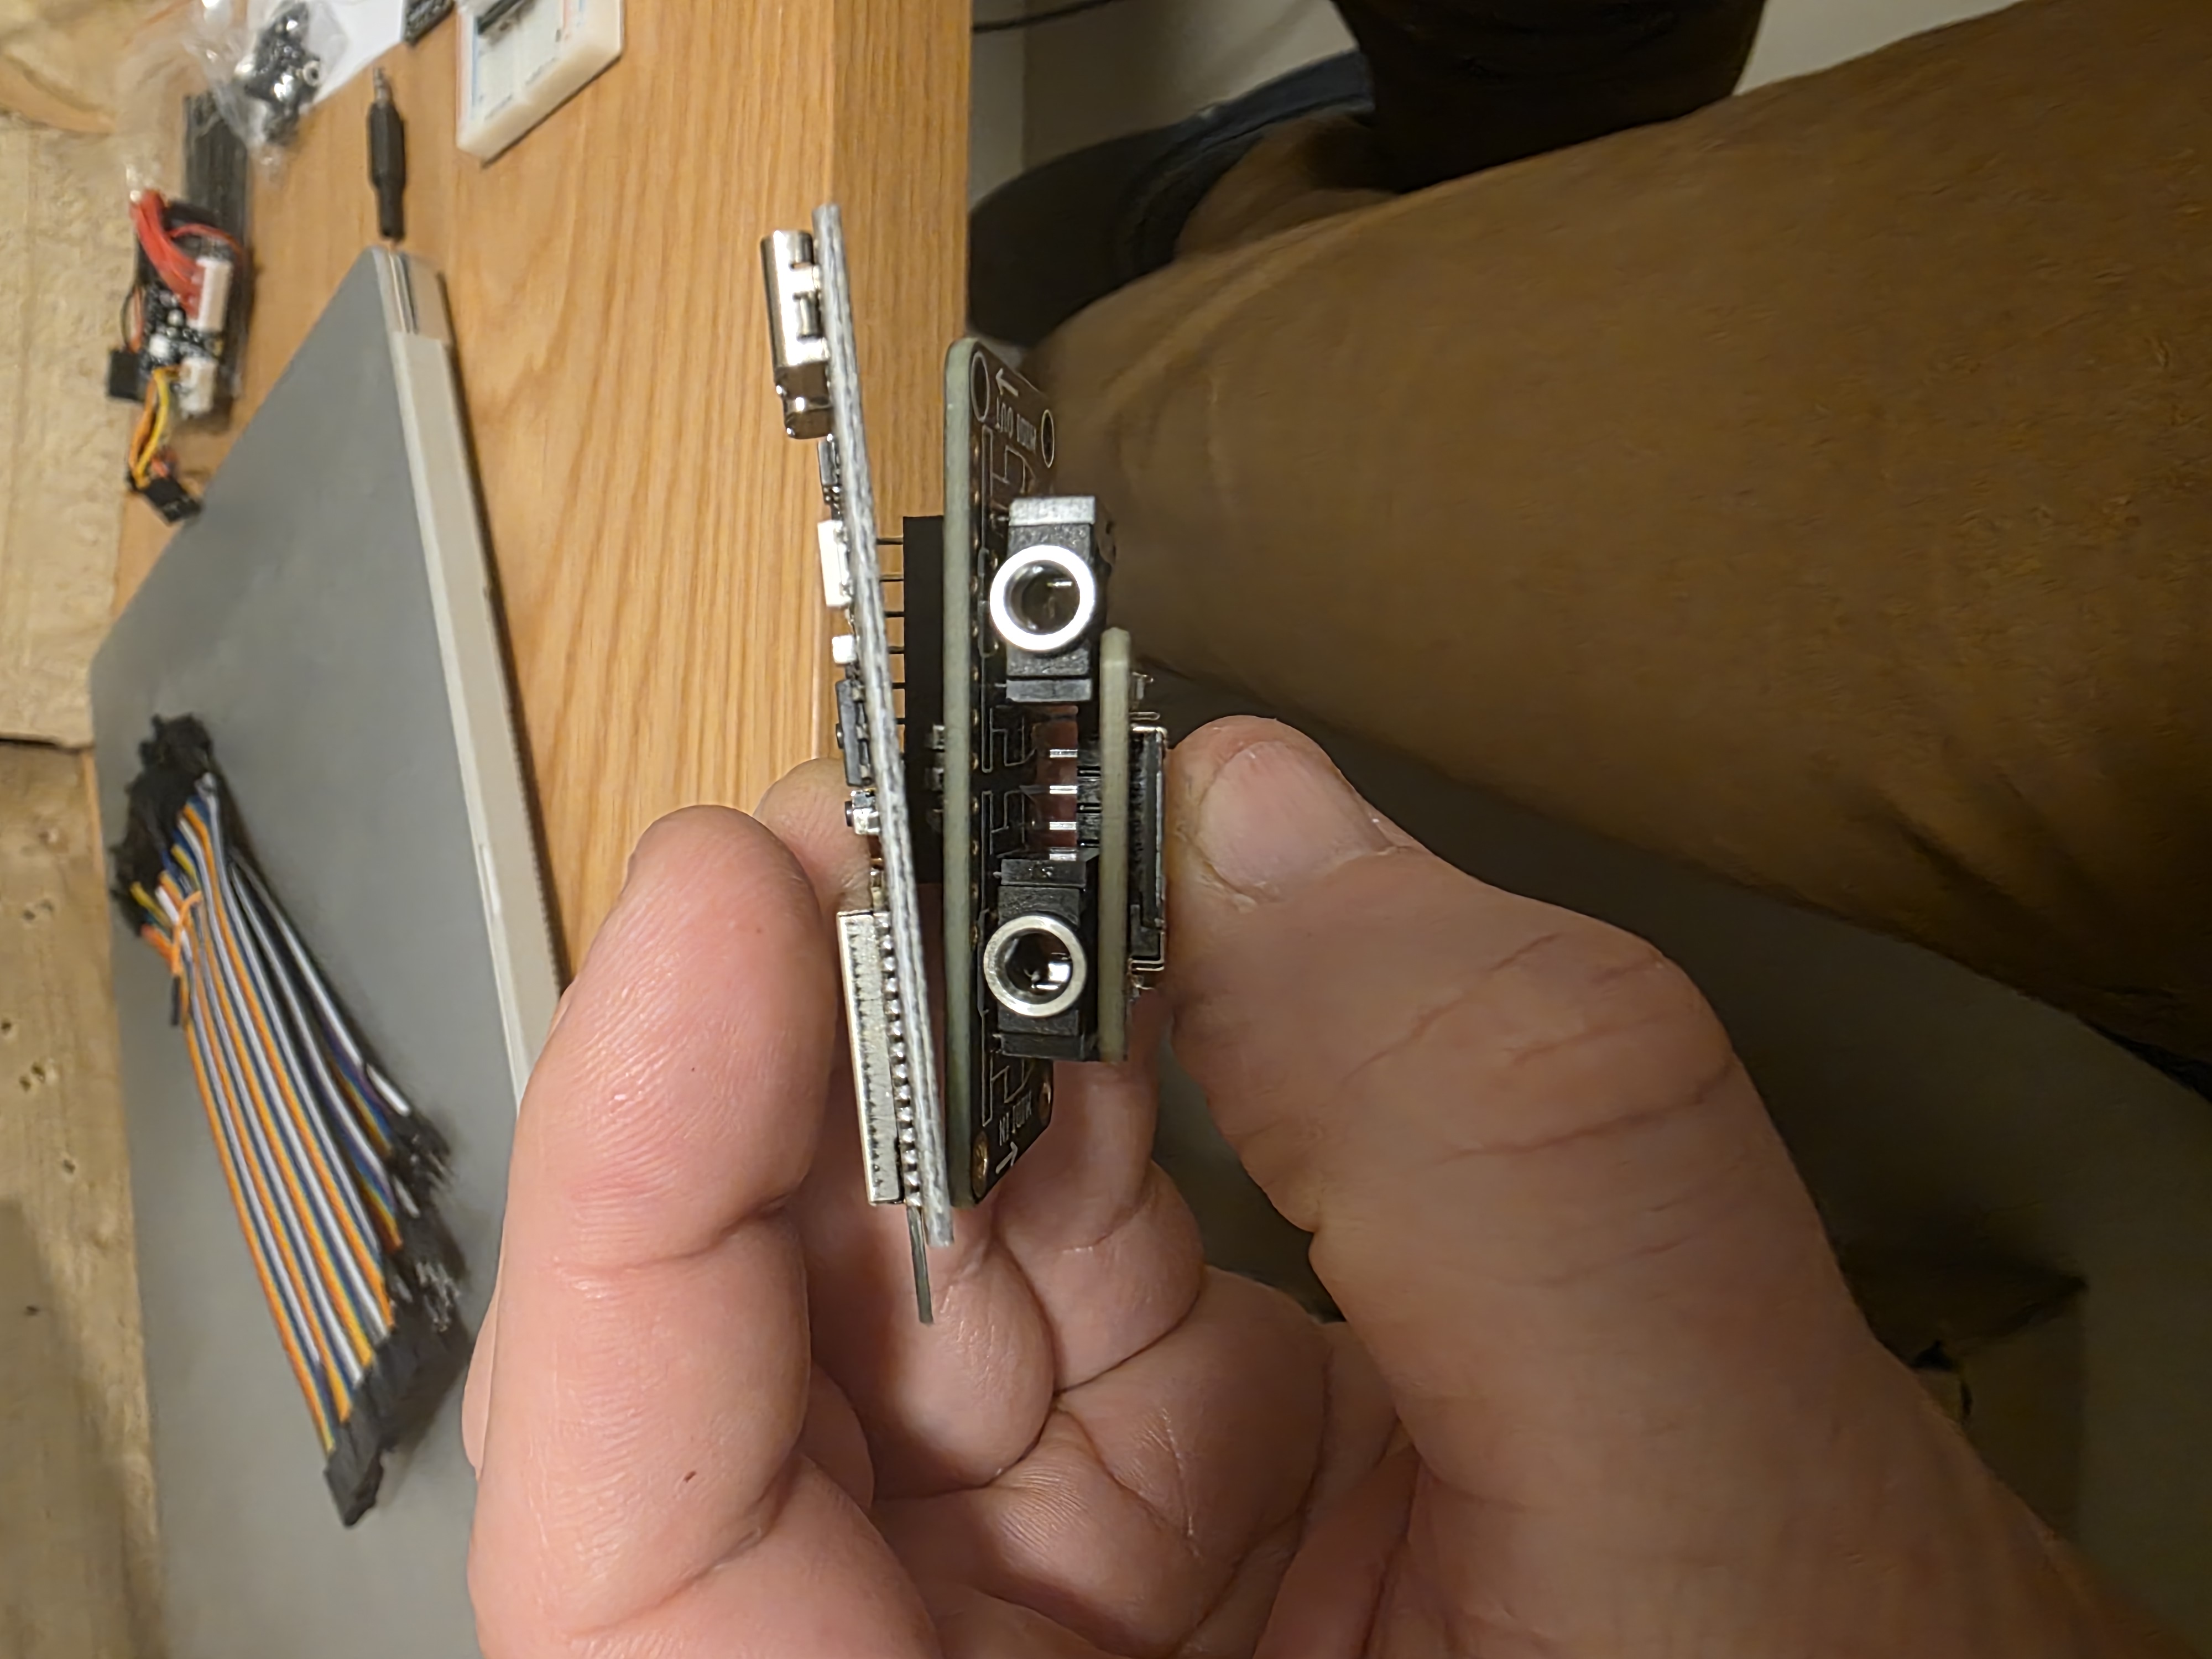
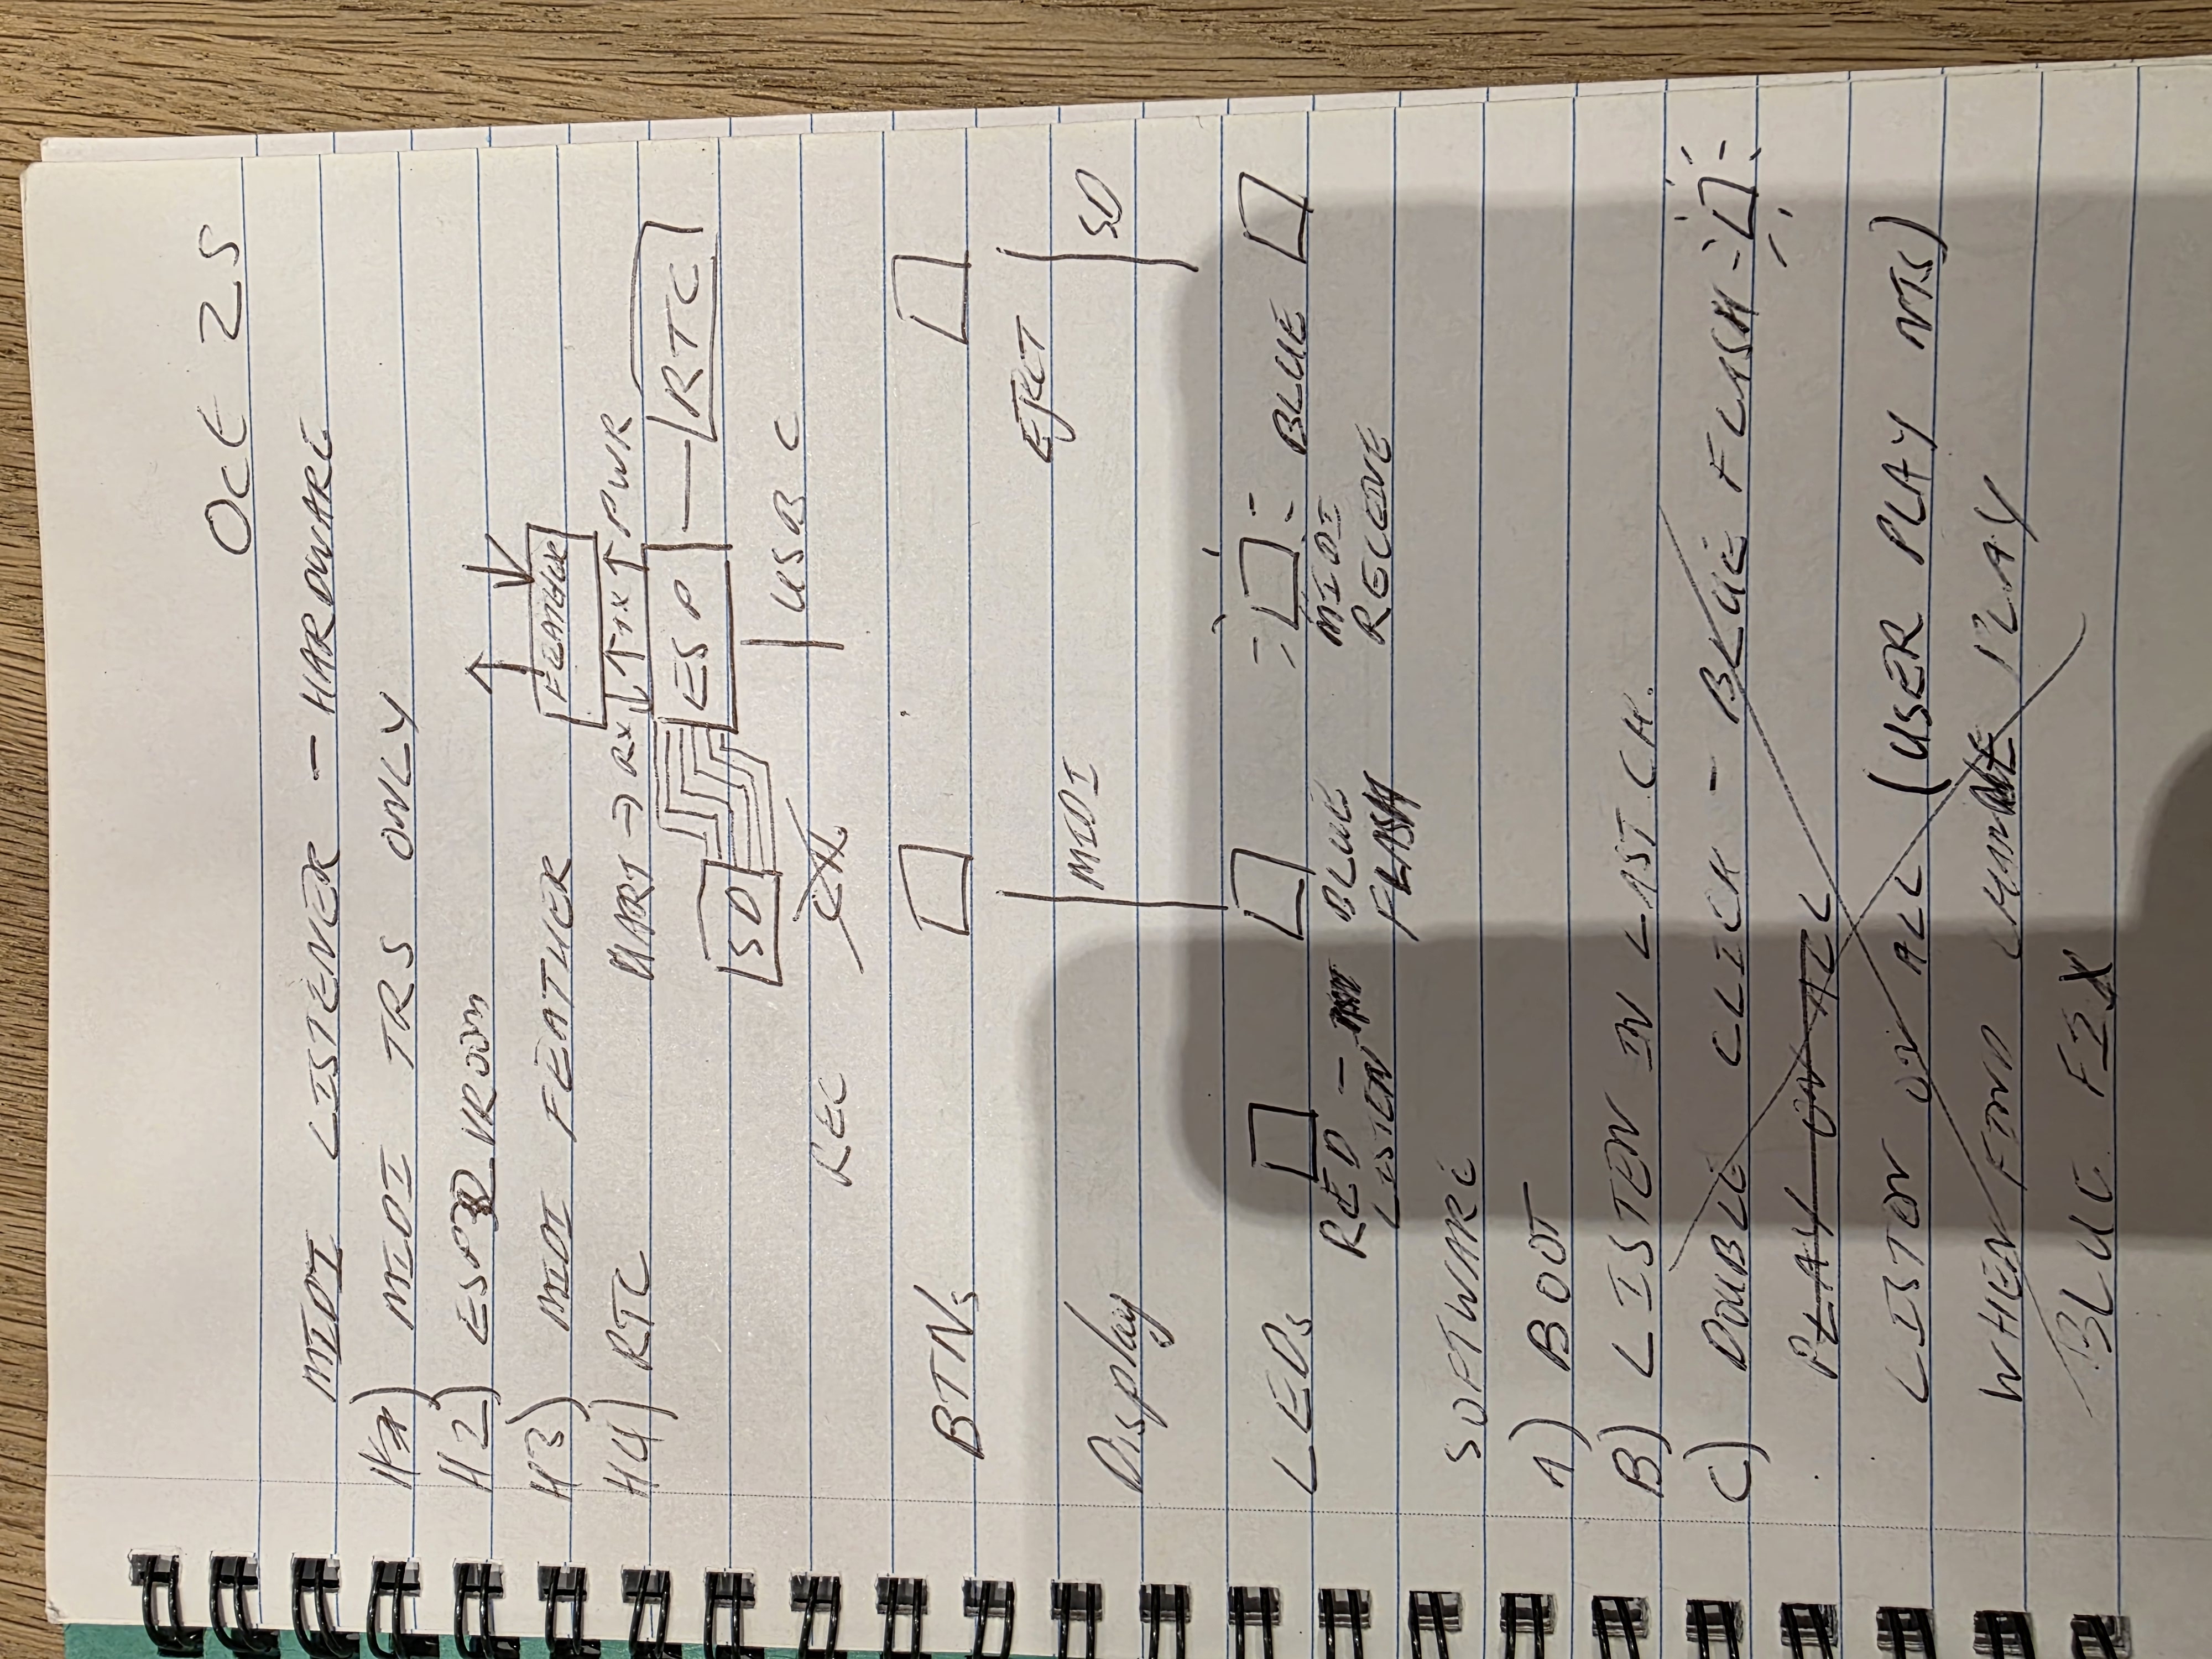
EchoBox has two midi ports. The left port receives midi so should be connected to your midi device's midi out. The right port sends midi and should be connected to your midi device's midi in- this allows you to replay from EchoBox back to you device.
EchoBox is powered by USB-C, a regular phone power supply should do. WiFi can take a bit more power, so if you notice glitches in Wifi mode then use a higher power supply.
There should be a high capacity SD card in the left hand opening, this can be removed when the unit is disconnected. However as there is WiFi connectivity for accessing all the files this can be avoided.
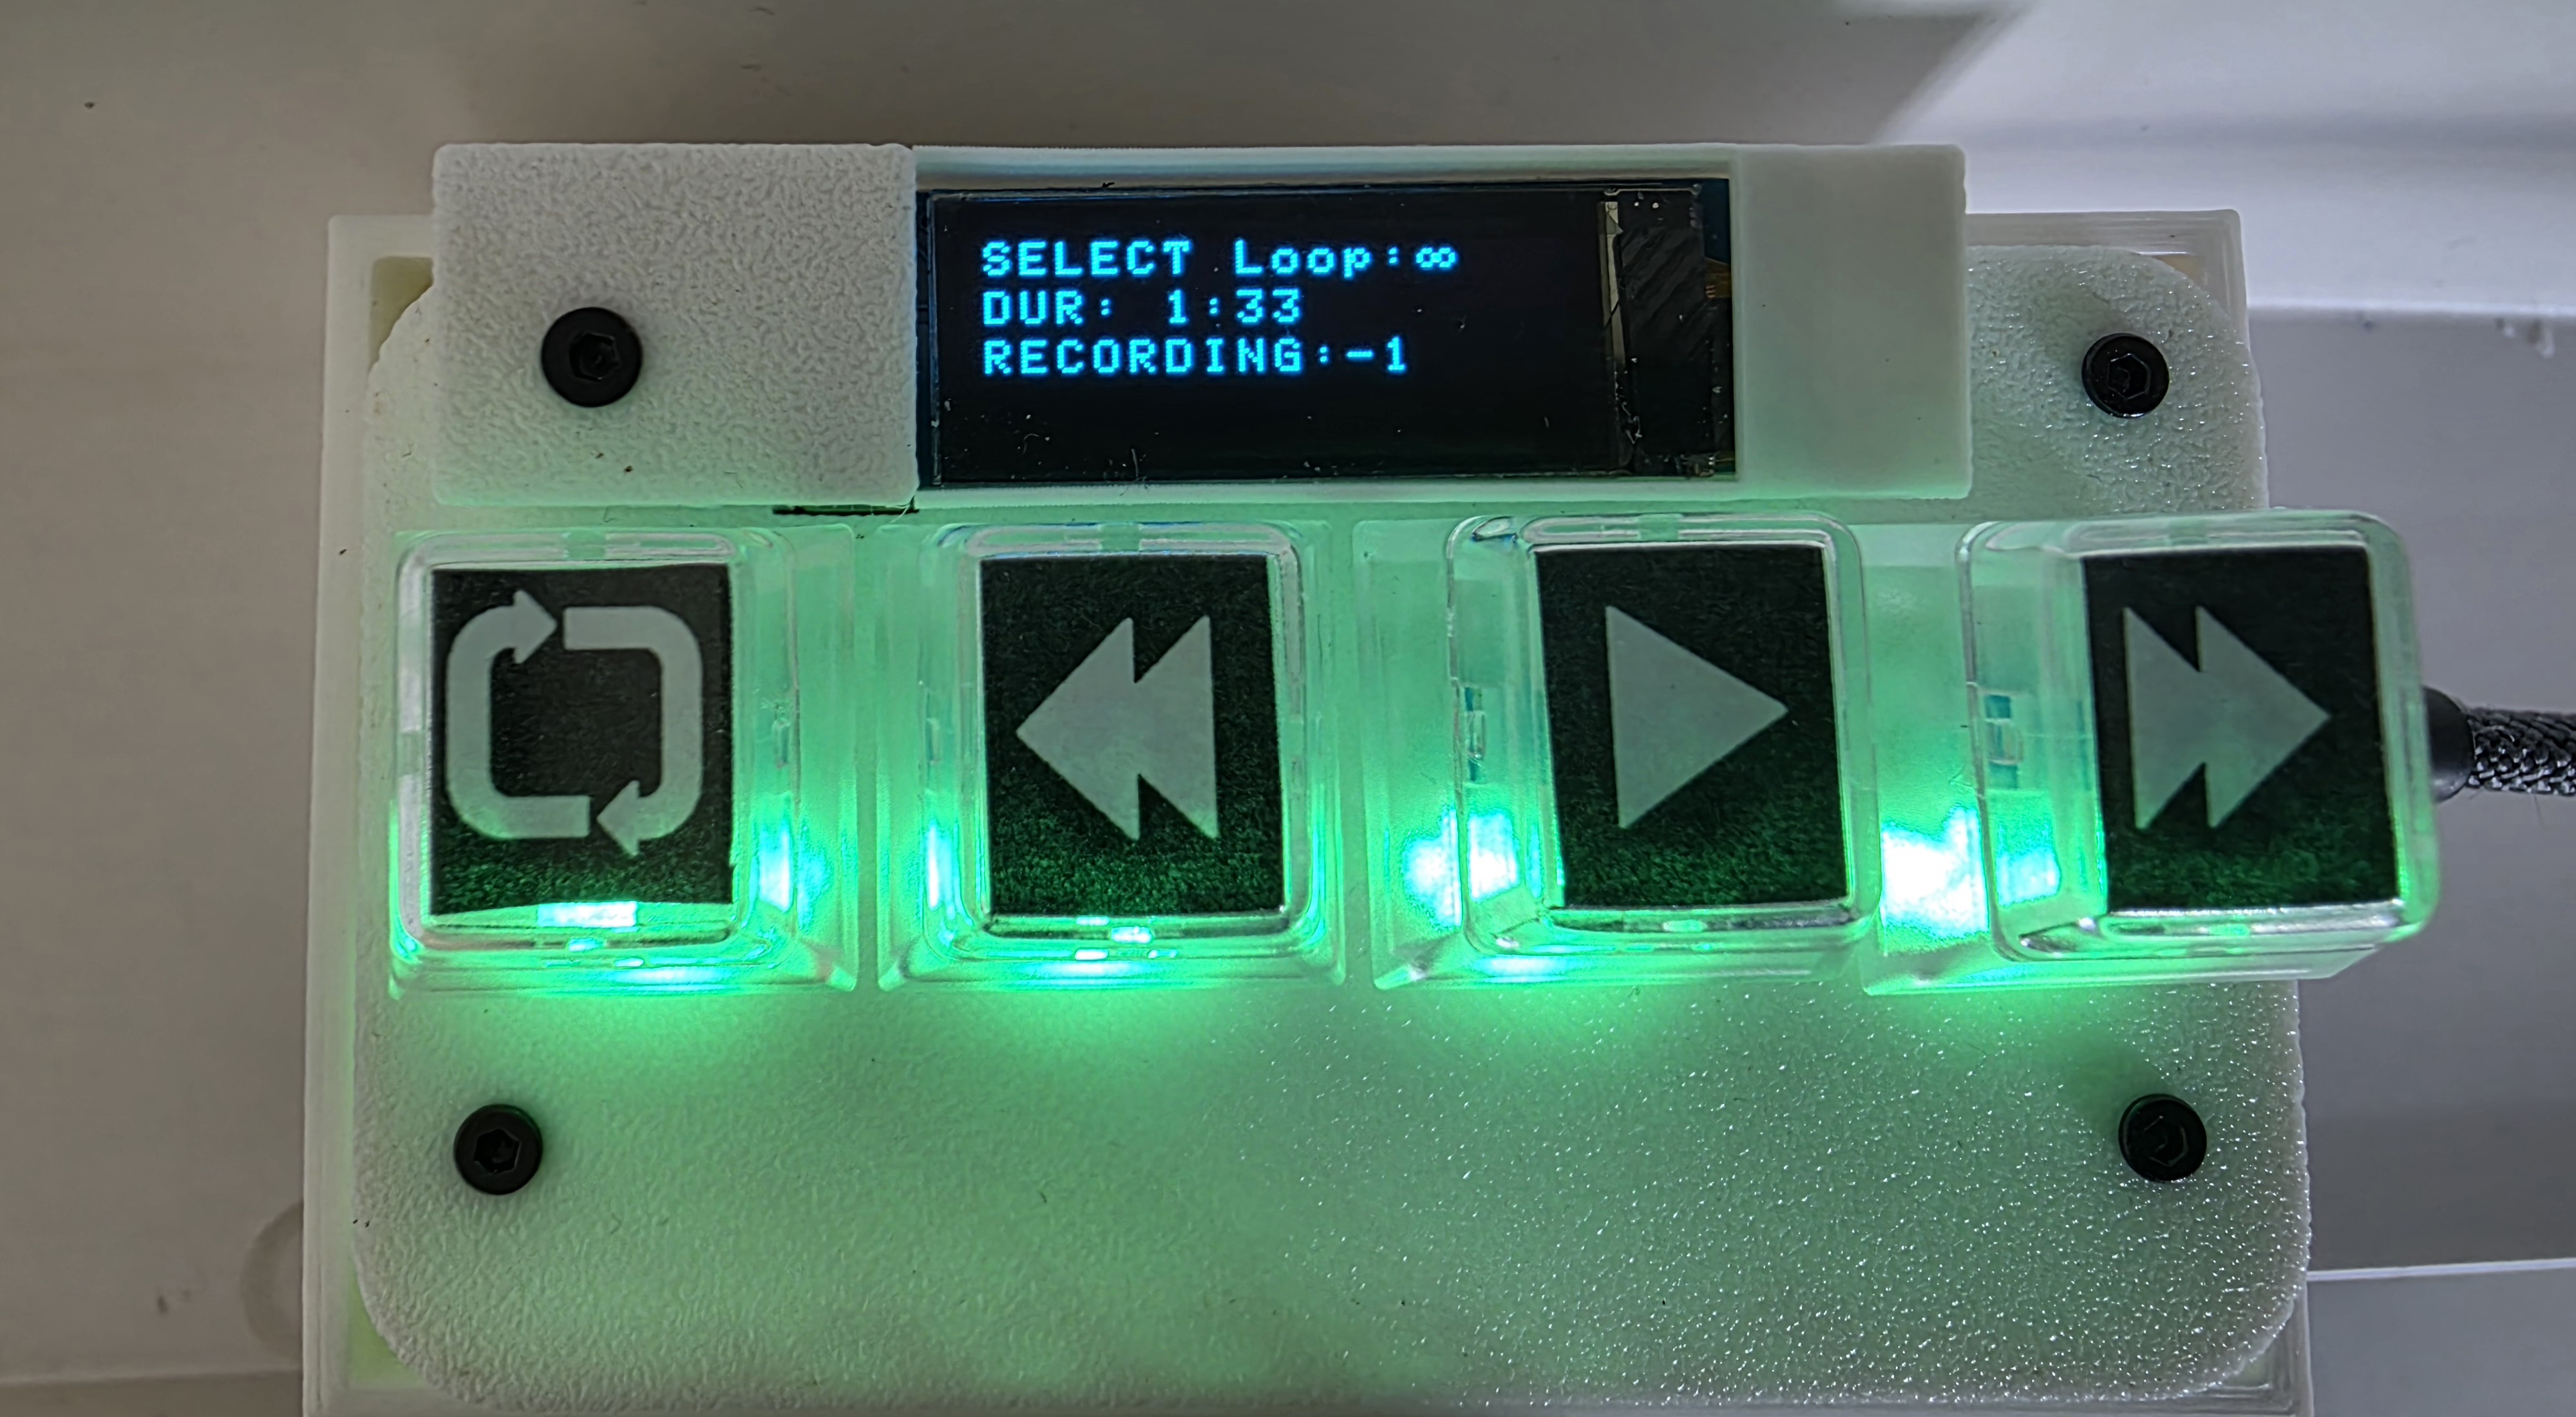
The device has 4 buttons, from left to right:
A — LOOP |
B — PREV |
 C — PLAY |
 D — NEXT |
|---|
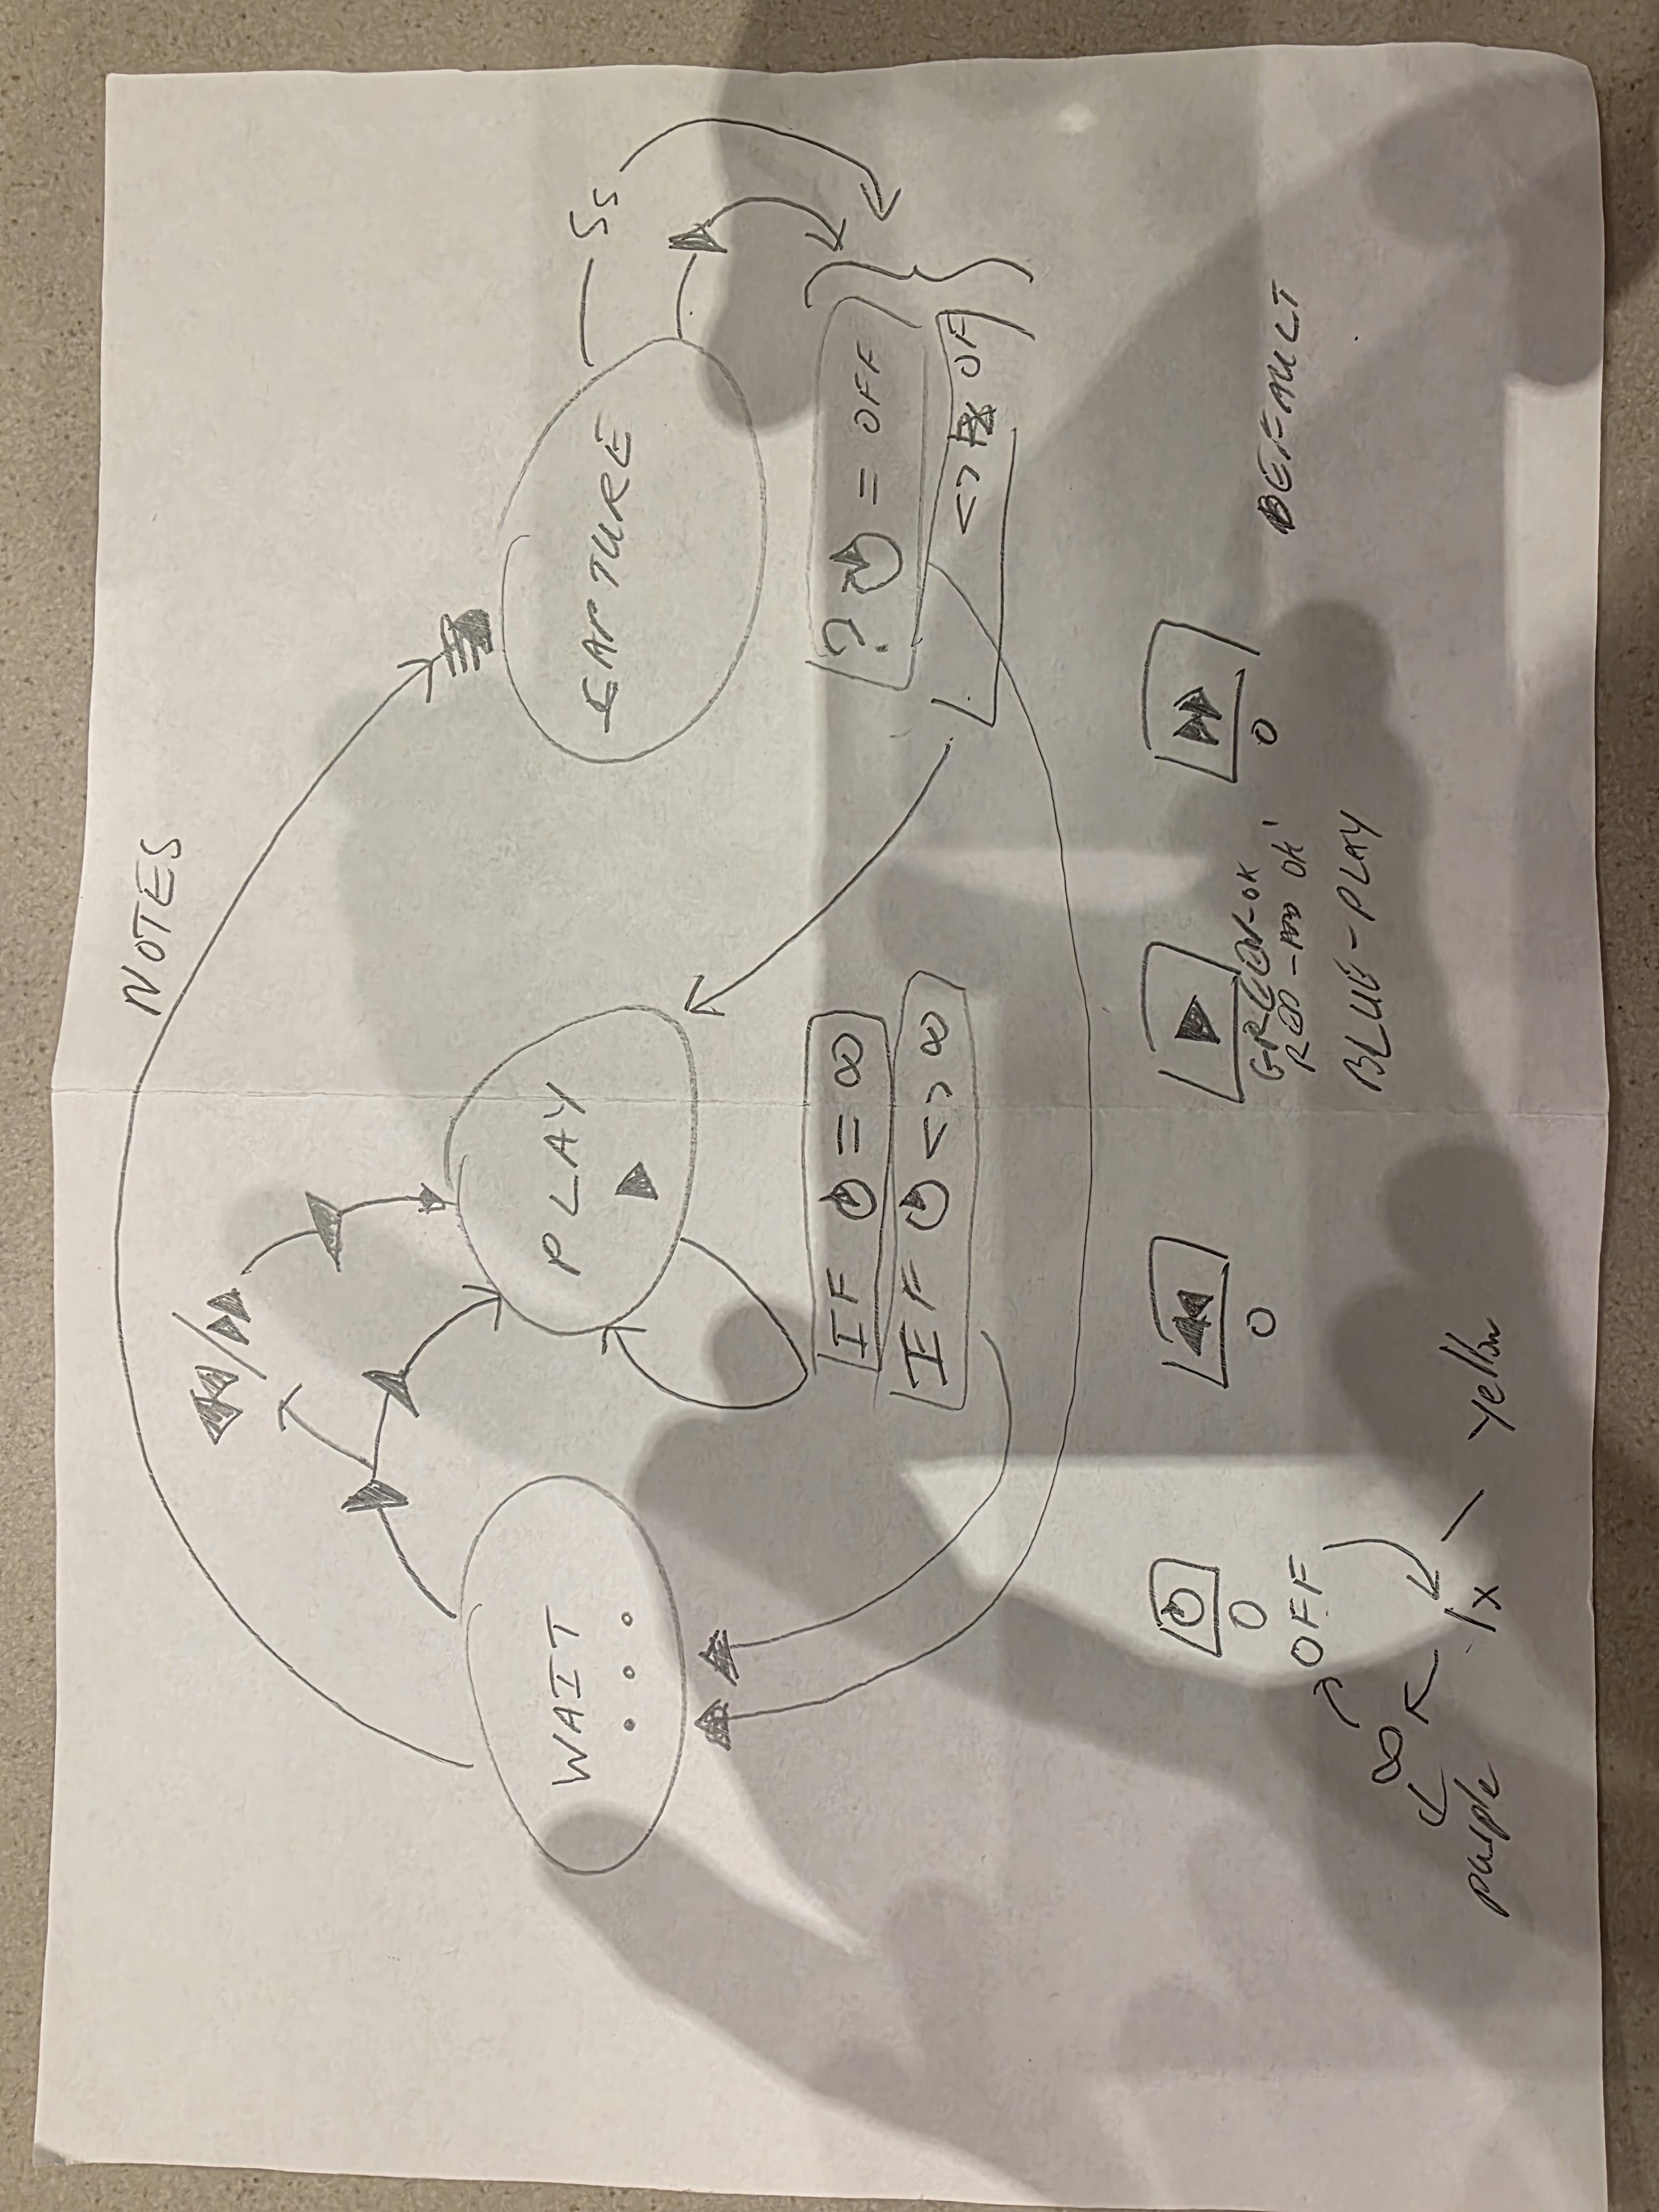
| Button | While Idle | While Browsing | While Playing | While Recording |
|---|---|---|---|---|
| LOOP |
Cycle loop mode | Cycle loop mode | ⏹ Stop playback | No effect |
| PREV |
No effect | ⏪ Go back (−1, −2...) | ⏪ Rewind 1s | No effect |
| PLAY |
Enter browse mode | ▶ Play selected track | ⏹ Stop playback | End recording now |
| NEXT |
No effect | ⏩ Go forward | ⏩ Skip forward 1s | No effect |
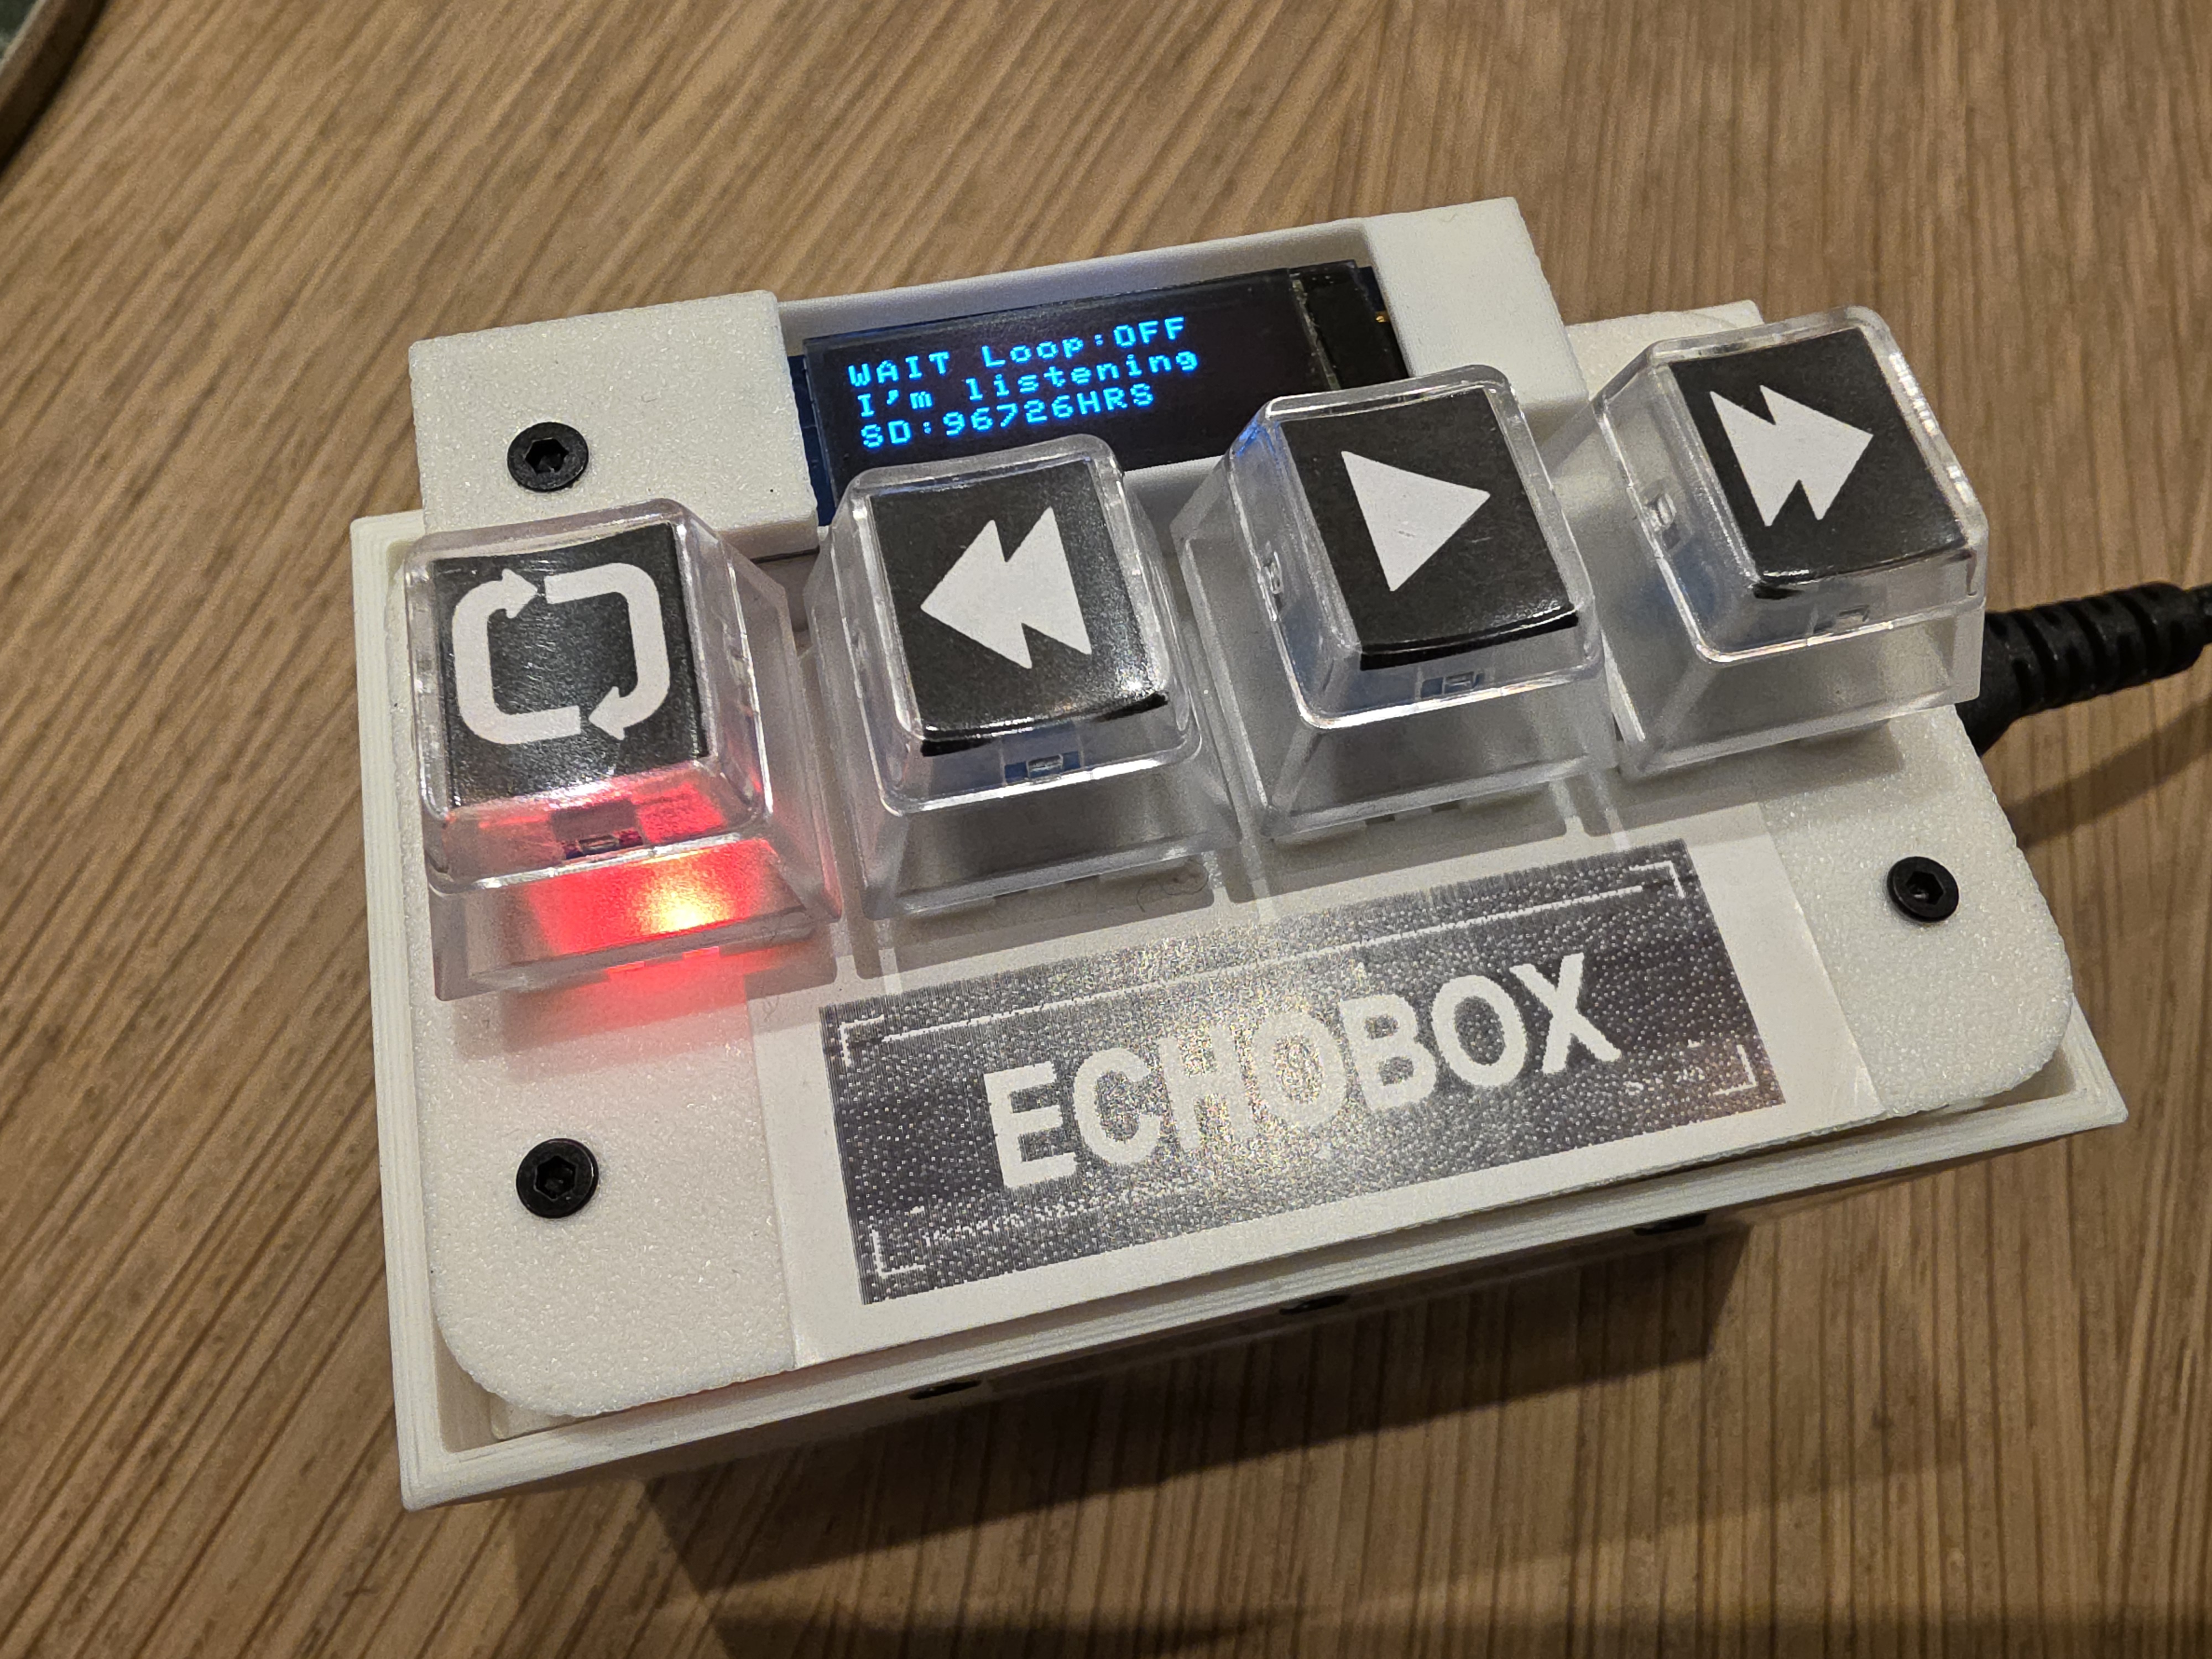
LOOP ButtonCycles the loop mode. The colour shows the current setting:
| LED Colour | Mode | Behaviour |
|---|---|---|
| ● Red | OFF | Record only — no automatic playback |
| ● Yellow | ONCE | Play once after recording, then stop |
| ● Green | INFINITE | Loop continuously until you stop it |
PREV / REWIND Button PLAY Button NEXT / FORWARD Button (LOOP) until the LED is GREEN (infinite loop) (PLAY) to stop immediately. or to stop playback.Tip: The loop is seamless — there is less than 2ms of silence between iterations.
Press (PLAY) — enters browse mode, LEDs turn green showing the newest recording
Press or to navigate:
| Track Number | Meaning |
|---|---|
| 0 | Your newest recording |
| −1, −2, −3... | Older recordings |
| +1, +2, +3... | Uploaded MIDI files |
Press (PLAY) again to start playback
Press or to stop
While a track is playing you can jump to any position:
| Press | Action |
|---|---|
| once |
⏪ Jump back 1 second |
| three times |
⏪ Jump back 3 seconds |
| once |
⏩ Jump forward 1 second |
| three times |
⏩ Jump forward 3 seconds |
Any stuck notes are silenced automatically each time you seek. To stop playback entirely, press or .
Press (LOOP) or (PLAY) — both light red during playback as a reminder that they are stop buttons. All MIDI notes are silenced immediately.
Note:
Press (LOOP) to cycle through the three modes:
| Mode | Behaviour | |
|---|---|---|
| ● RED — Loop OFF | Record only | Saves the recording but does not play it back. Good for capturing performances you'll browse and play later. |
| ● YELLOW — Loop ONCE | Play once | Plays the recording once after capture, then returns to idle. Good for quickly previewing what you just played. |
| ● GREEN — Loop INFINITE | Loop forever | Loops continuously until you press or . Perfect for live performance. Each loop is seamless (less than 2ms gap). |
PLAY Loop:INF
0:30/2:15
CH:05  42% T:0
| Line | Meaning |
|---|---|
| Line 1 | Current state (PLAY) and loop mode (Loop:INF = infinite) |
| Line 2 | Playback position as current time / total time (e.g. 0:30/2:15) |
| Line 3 | MIDI channel (CH:05), progress percentage (42%), and track offset (T:0) |
SELECT Loop:INF
DUR: 2:13
RECORDING:0
Line 3 shows your current position: RECORDING:0 = newest recording, RECORDING:-3 = 3rd-most-recent, UPLOAD:+2 = uploaded file #2.
After 30 seconds of no activity the display and LEDs turn off to protect the screen.
Any button press or incoming MIDI note wakes the device instantly.
Button A, while idle)| Colour | Mode |
|---|---|
| ● Red | Loop OFF — record only |
| ● Yellow | Loop ONCE — play once |
| ● Green | Loop INFINITE — loop forever |
| Colour | When |
|---|---|
| ● All four LEDs red | Recording in progress |
| ● and red |
Playback active — press either to stop |
| ● All four LEDs green | Browsing your recordings (brighter = further back) |
| ● All four LEDs purple | Browsing uploaded files |
| ● All LEDs flash blue | Entering WiFi mode |
| ● All off | Screensaver active |
Use WiFi mode to set the clock, upload MIDI files, or manage your recordings.
Option 1 — From idle (no power cycle needed):
+ for 2 secondsOption 2 — At power-on:
+ then turn on while holdingIn both cases the display shows: Join echobox wifi / pw=midi1234 / 192.168.4.1
| Action | Notes |
|---|---|
| Set device time | Required on first use and after replacing the backup battery |
| Upload MIDI files | .mid format — choose which MIDI channel to use |
| Upload native files | .txt format — direct upload, no conversion needed |
| Download recordings | As native .txt or converted to standard .mid |
| Delete recordings | Individual files or bulk delete |
| View all files | Listed with timestamps |
Uploaded files appear as positive track numbers (+1, +2, +3...). Browse past 0 with (NEXT) to reach them. Blue LEDs indicate you are on an uploaded file. Play them exactly like your own recordings.
Press any button on the device — it reboots to normal mode.
until green)Press
Upload your backing tracks as .mid files via WiFi. They appear as +1, +2, +3... Browse to them with (NEXT) and press (PLAY) to start.
Press several times to skip forward quickly, to go back. Each press moves 1 second.
Hold + for 2 seconds while idle. The device reboots into WiFi mode — no need to unplug and replug.
+ for 2 seconds while idle (or hold at power-on) to enter WiFi mode and set the device timeJoin echobox wifi).mid)Recordings are named automatically with a sequence number, date, time, and MIDI channel:
Example: midi_00042_20260201_143022_CH05.txt
| Part | Example | Meaning |
|---|---|---|
00042 |
42nd recording | Sequence number |
20260201 |
2026-02-01 | Date (YYYYMMDD) |
143022 |
14:30:22 | Time (HHMMSS) |
CH05 |
Channel 5 | Last MIDI channel used |
Files are stored on the SD card and can be copied to a computer at any time.
| ✅ | Recordings save to SD card automatically — nothing is lost if you power off |
| ✅ | Clock is battery-backed — timestamps survive power cycles |
| ✅ | No stuck MIDI notes — all notes are silenced when you stop or seek |
| ✅ | SD card is removable — plug it into your computer to back up files |
| ✅ | WiFi mode is read-only until you click delete |
| ✅ | + WiFi shortcut only works while idle — no risk of triggering during recording |
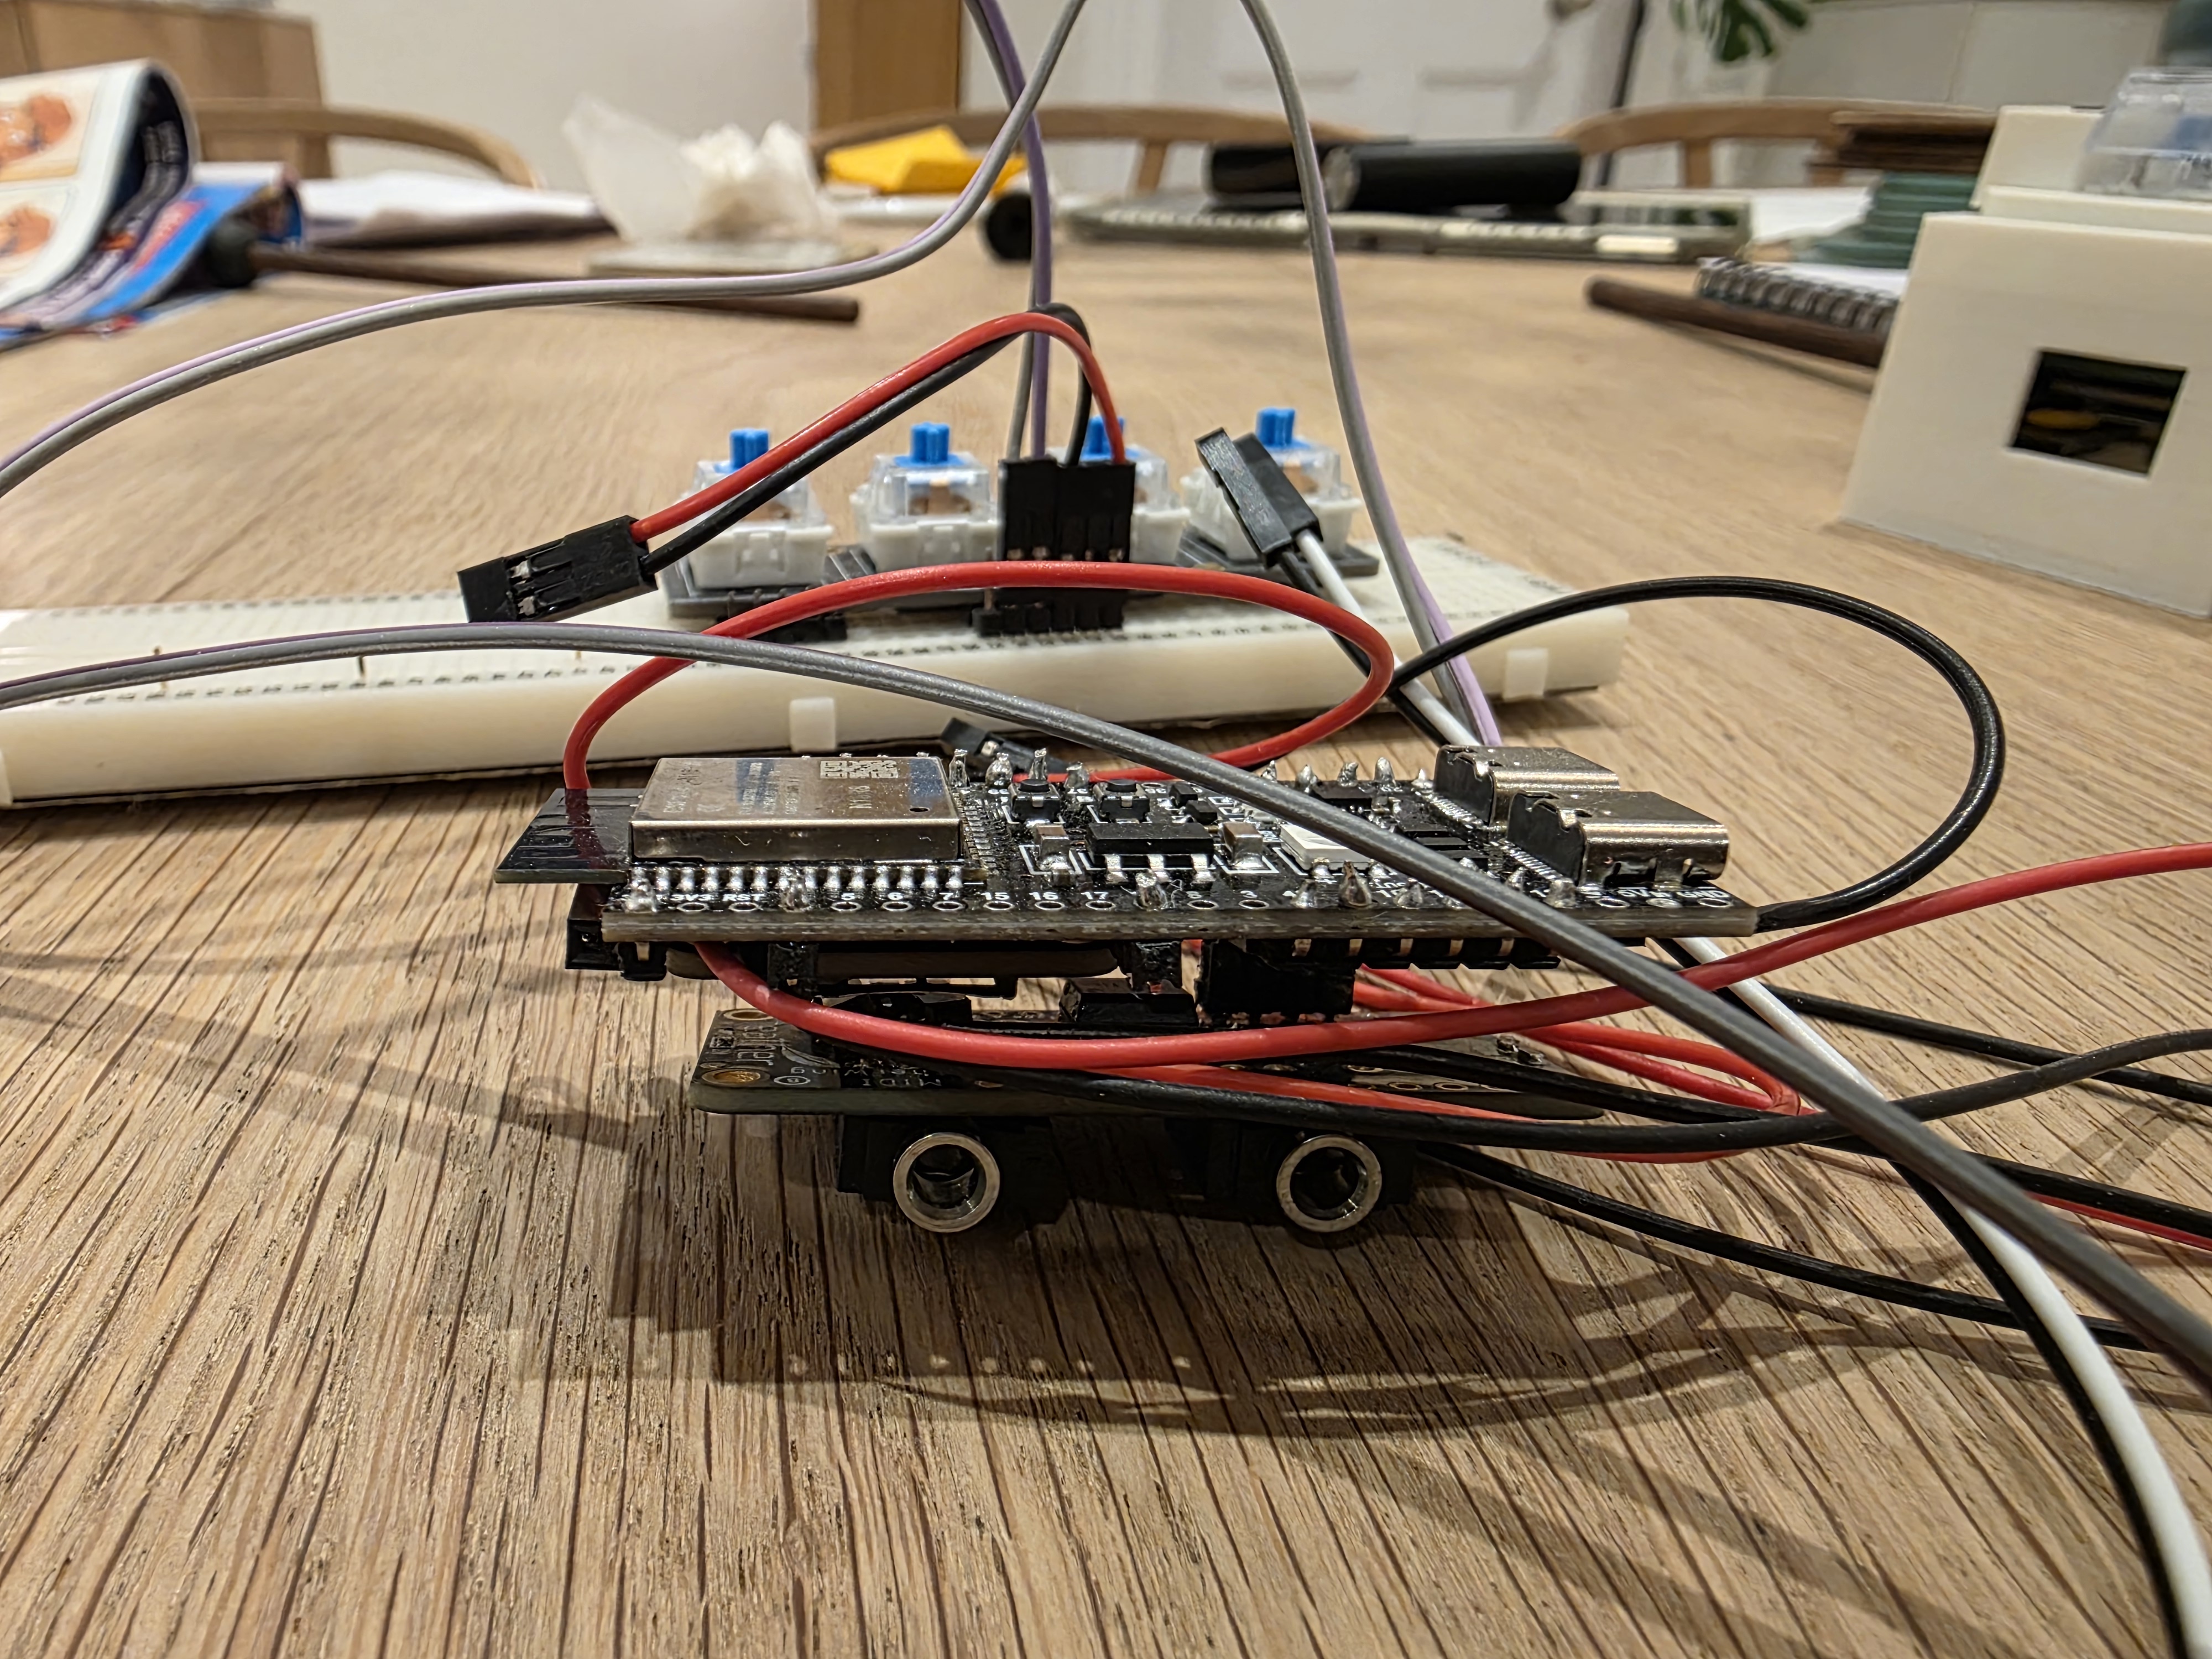
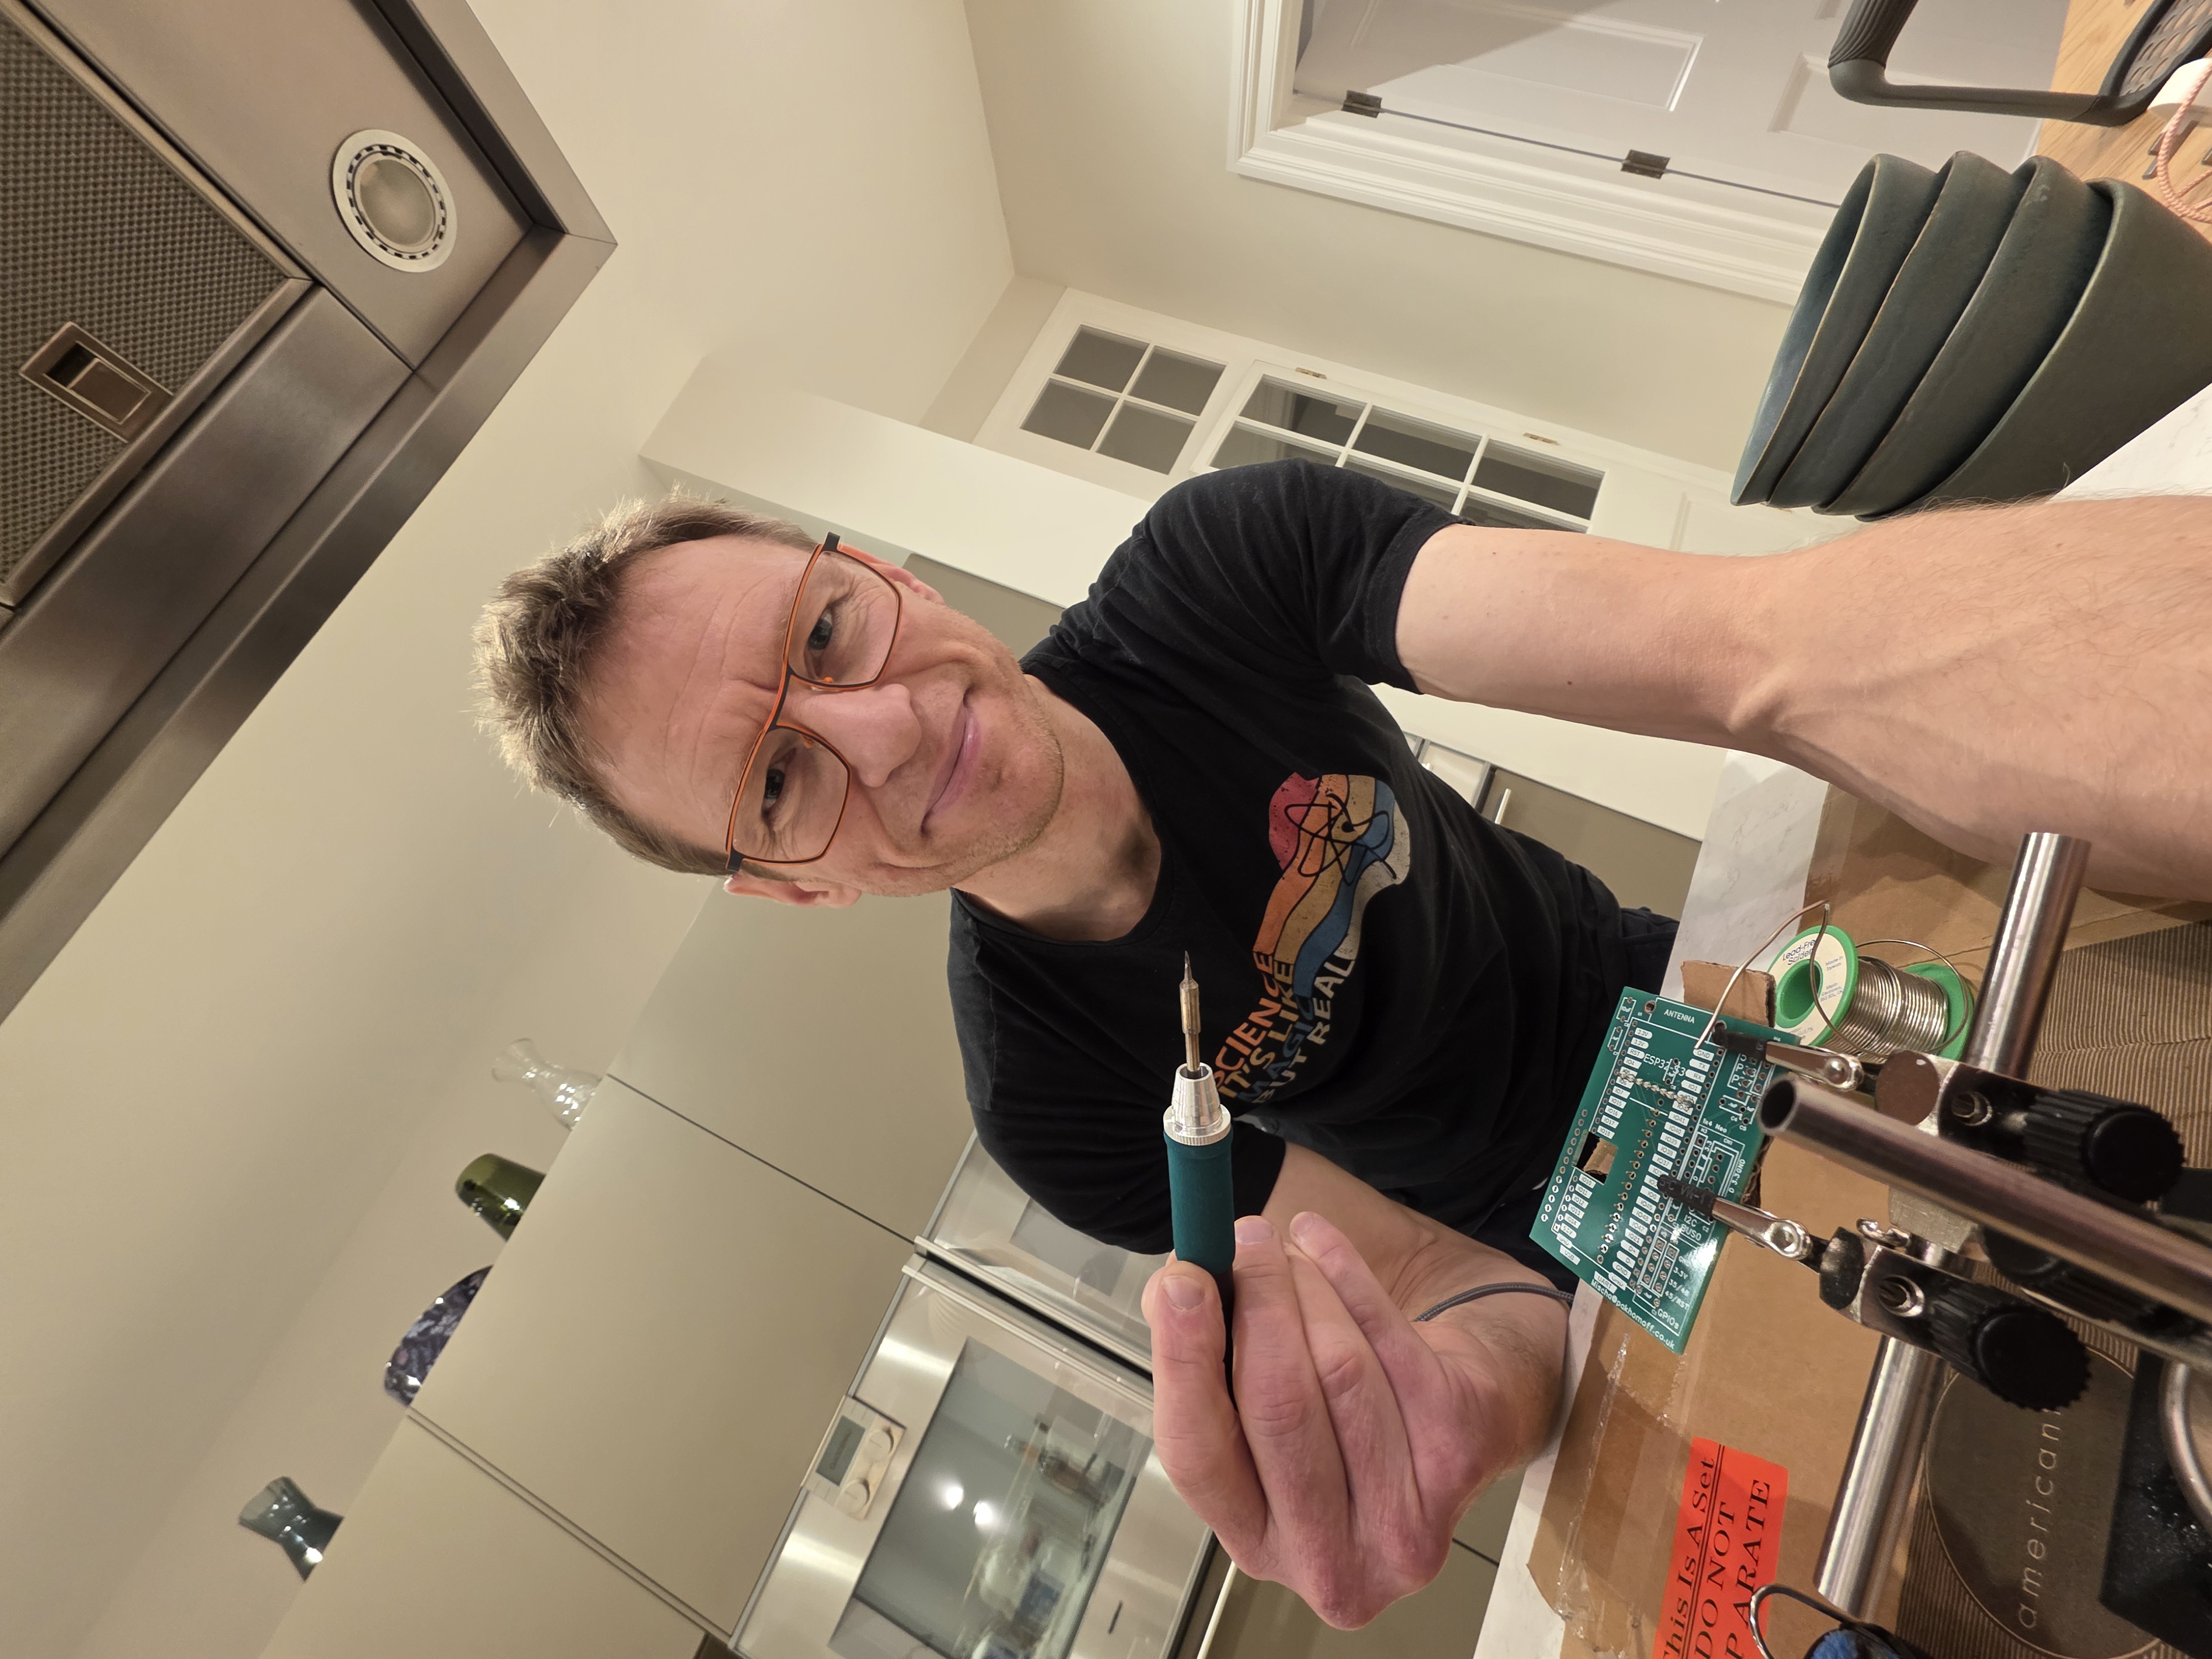
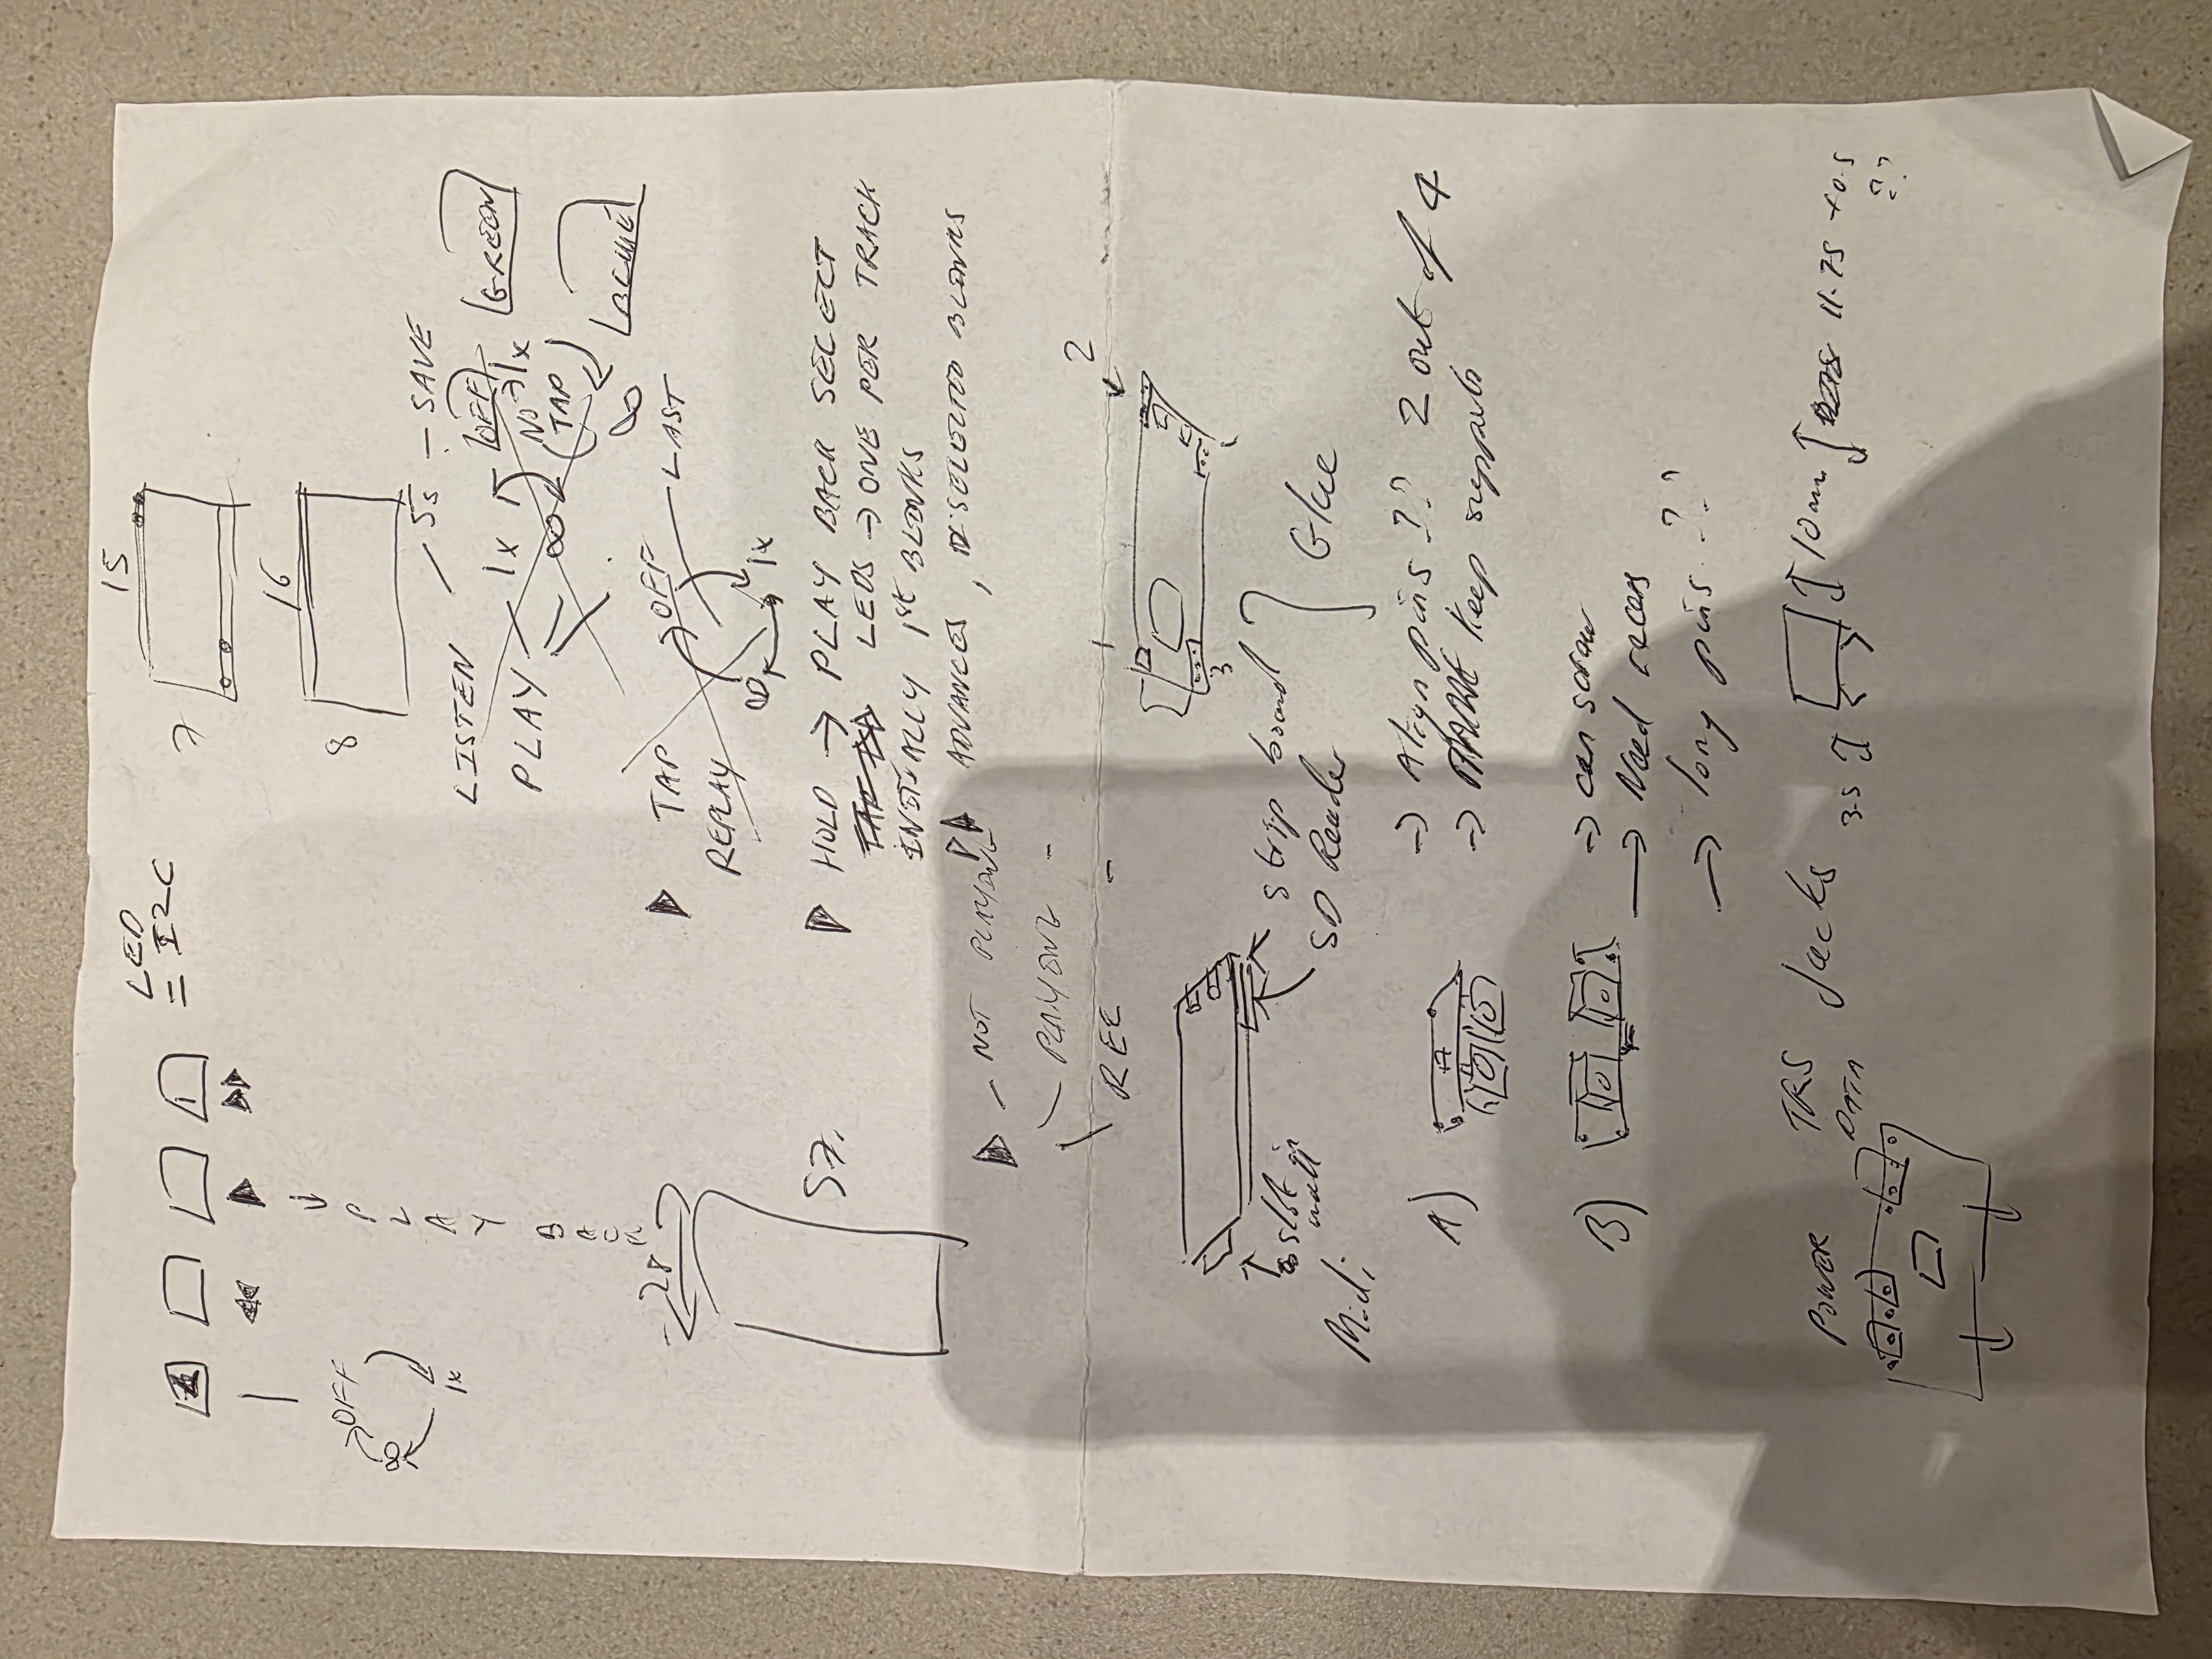
From first breadboard to finished device.
Nov 2025 — Early version before the PCB

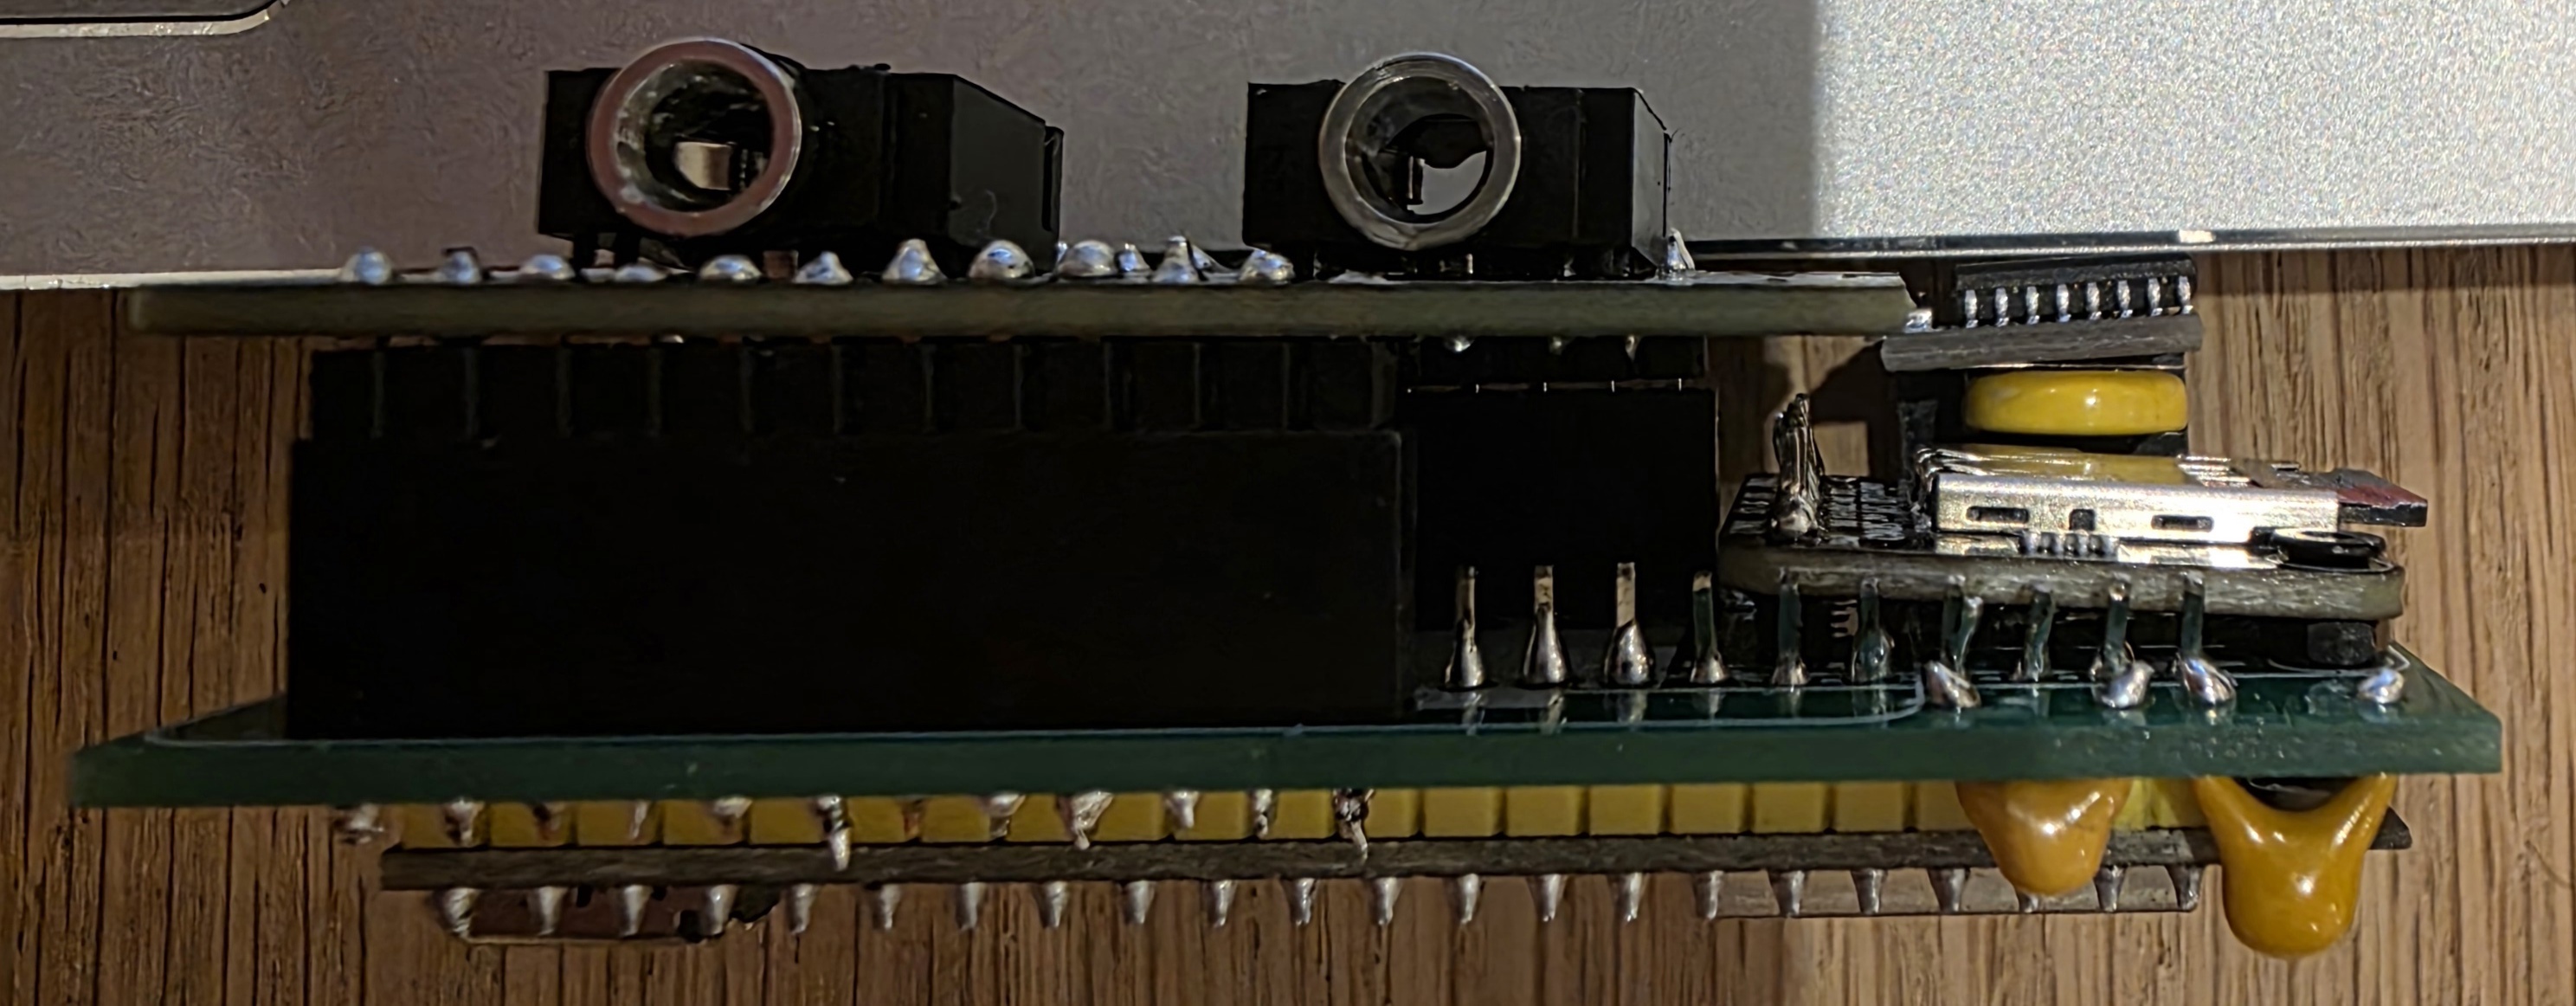
Dec 2025 — Trying different connectors to gain space
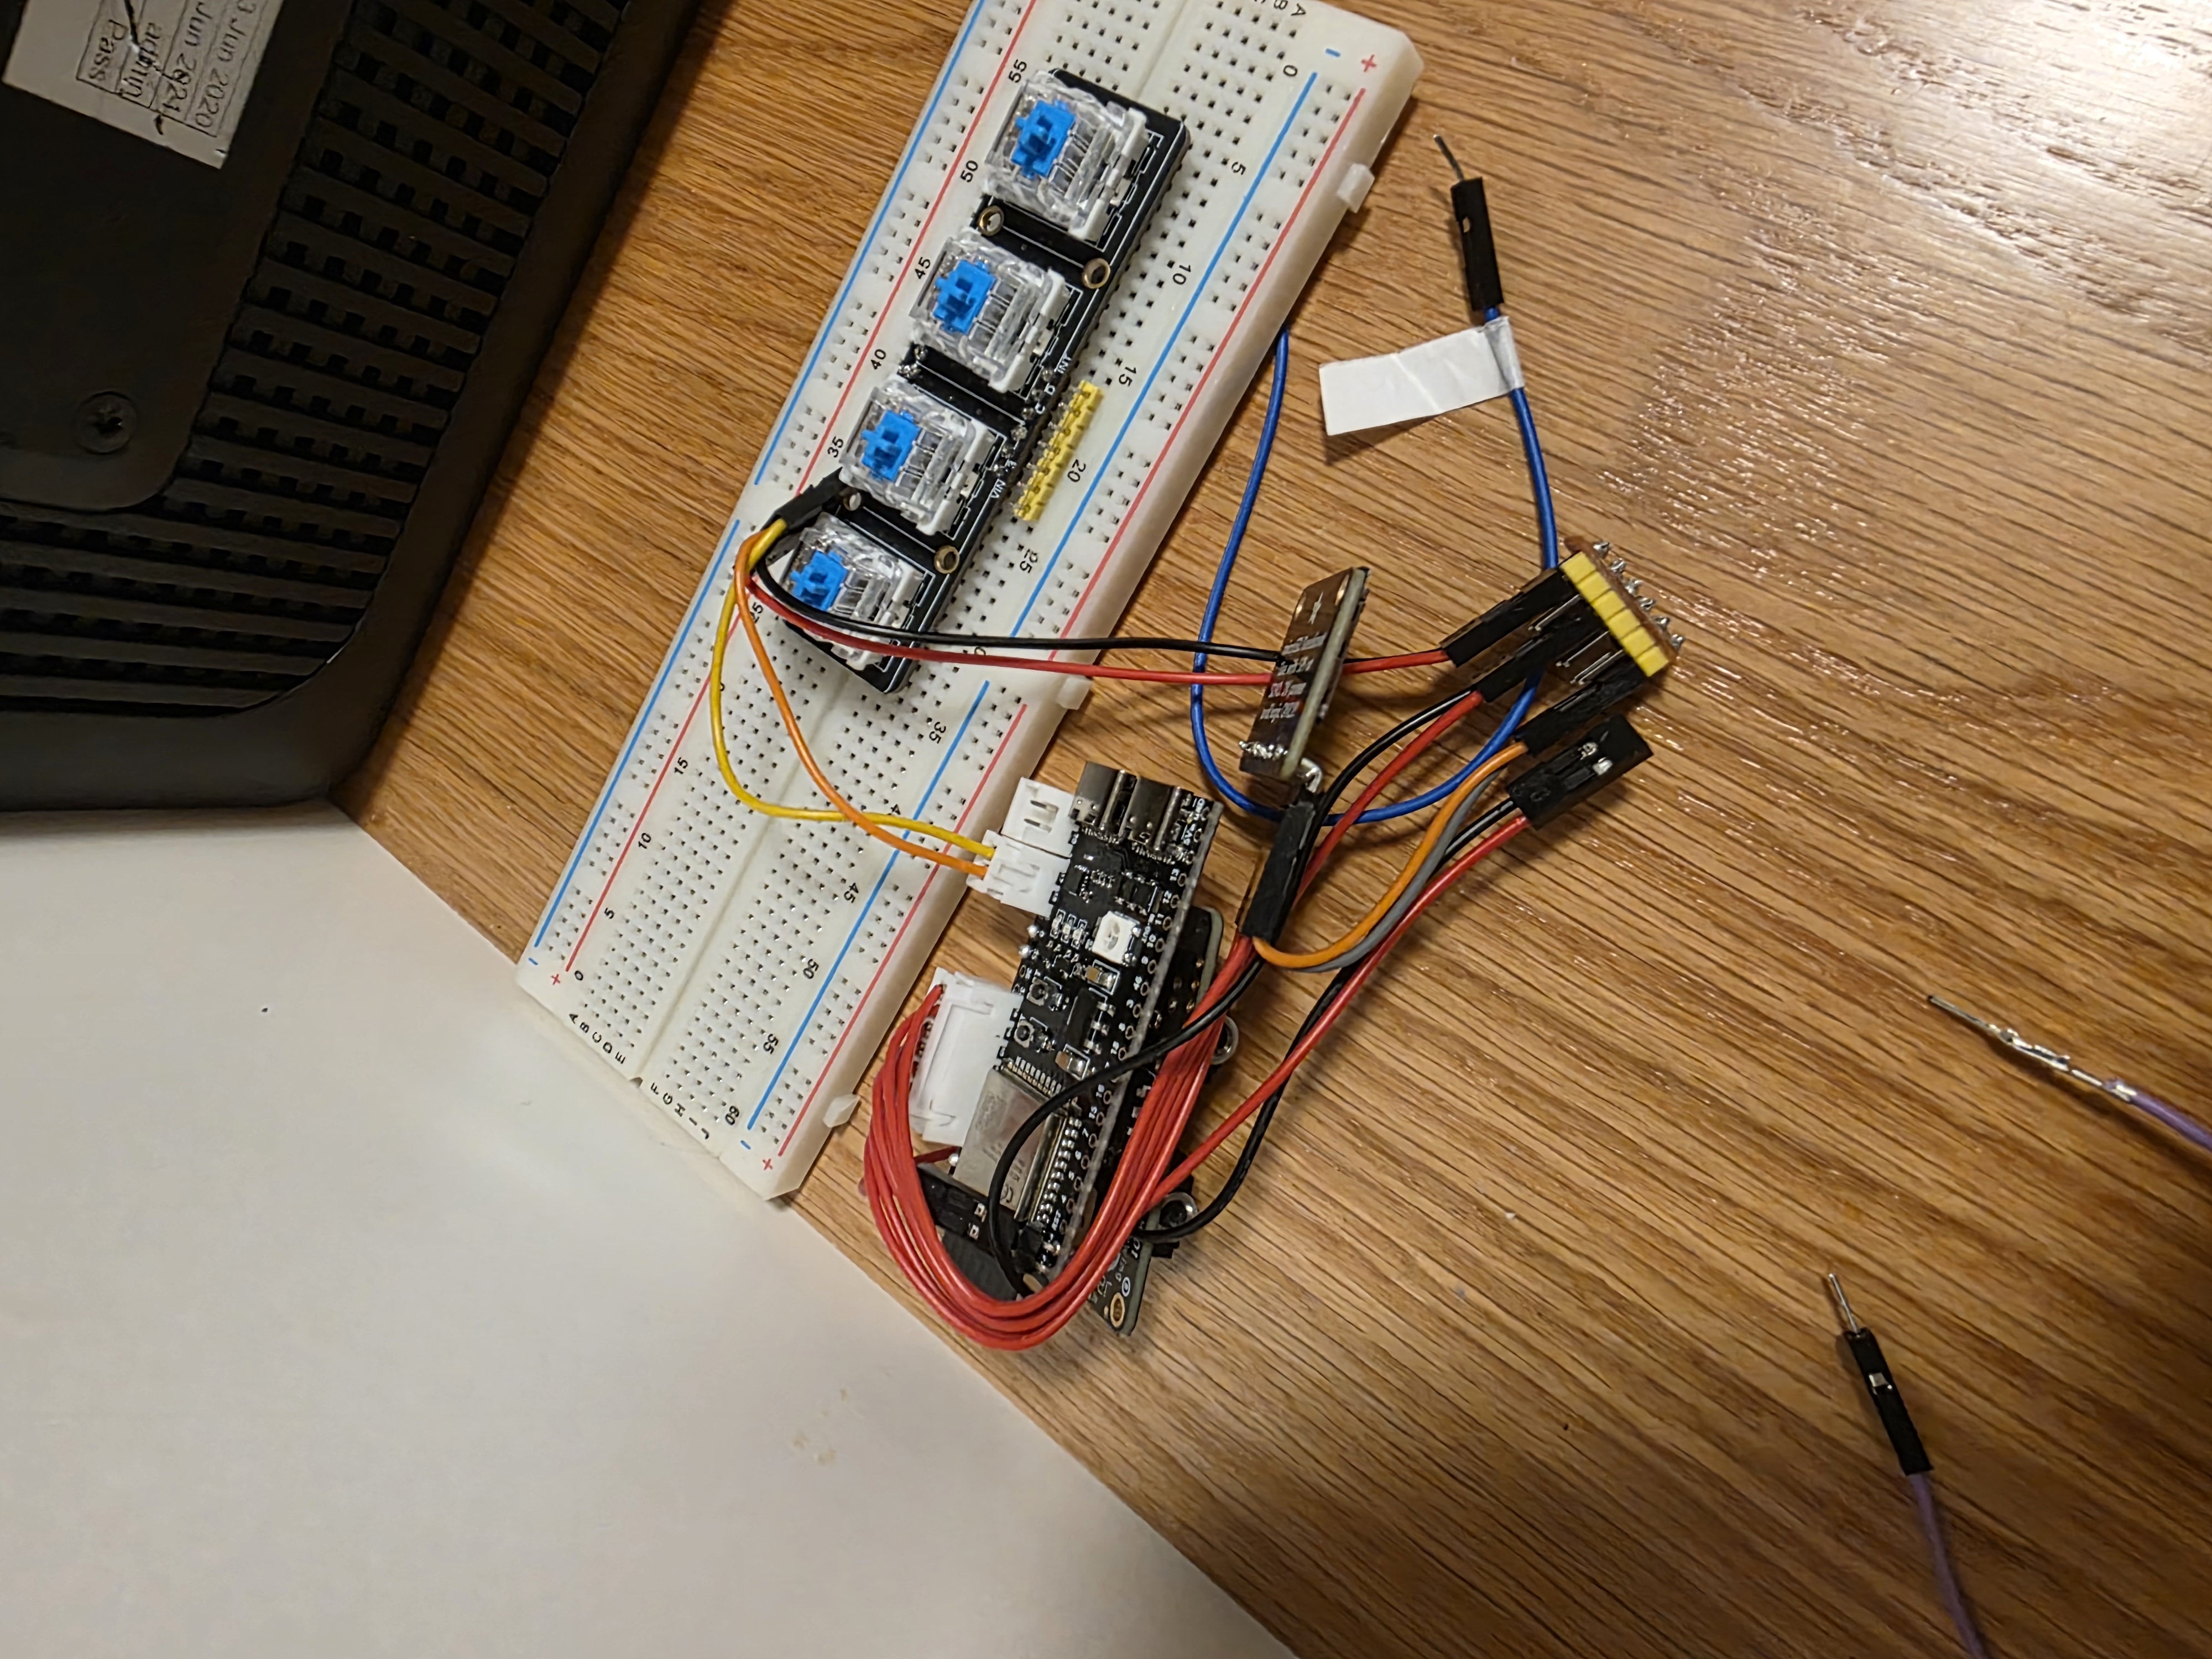
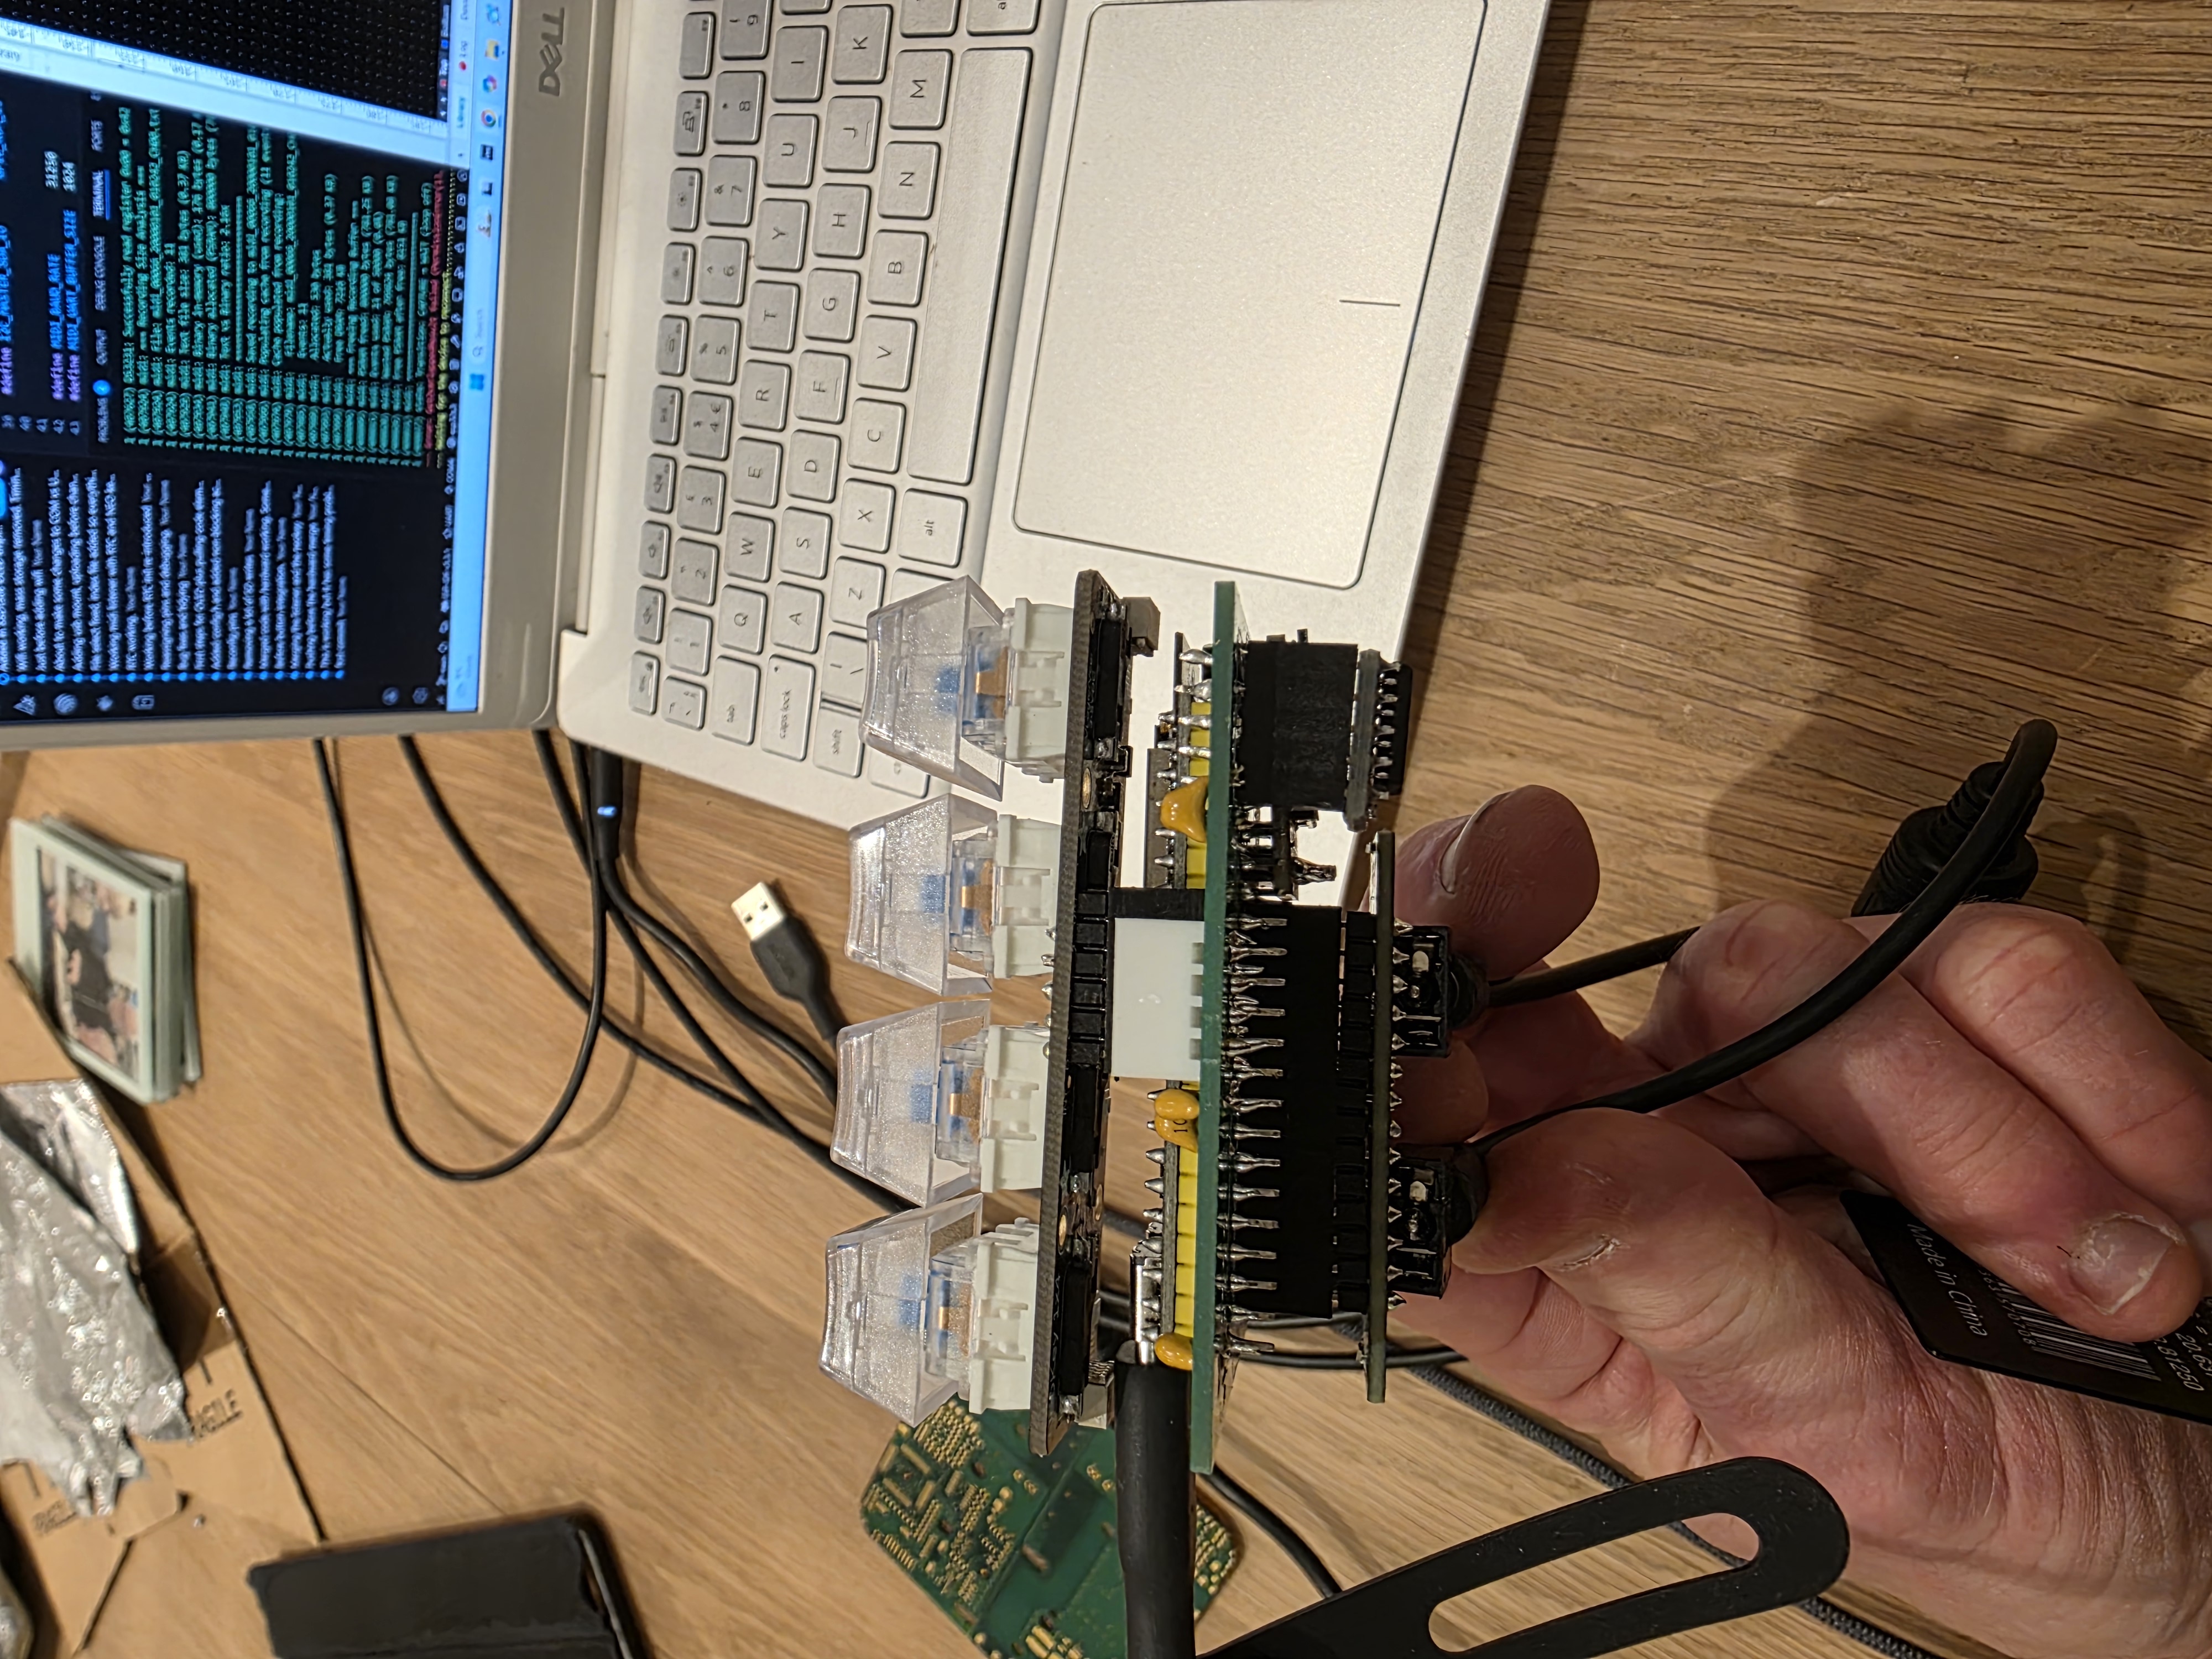
Dec 2025 — Breadboard prototype with buttons

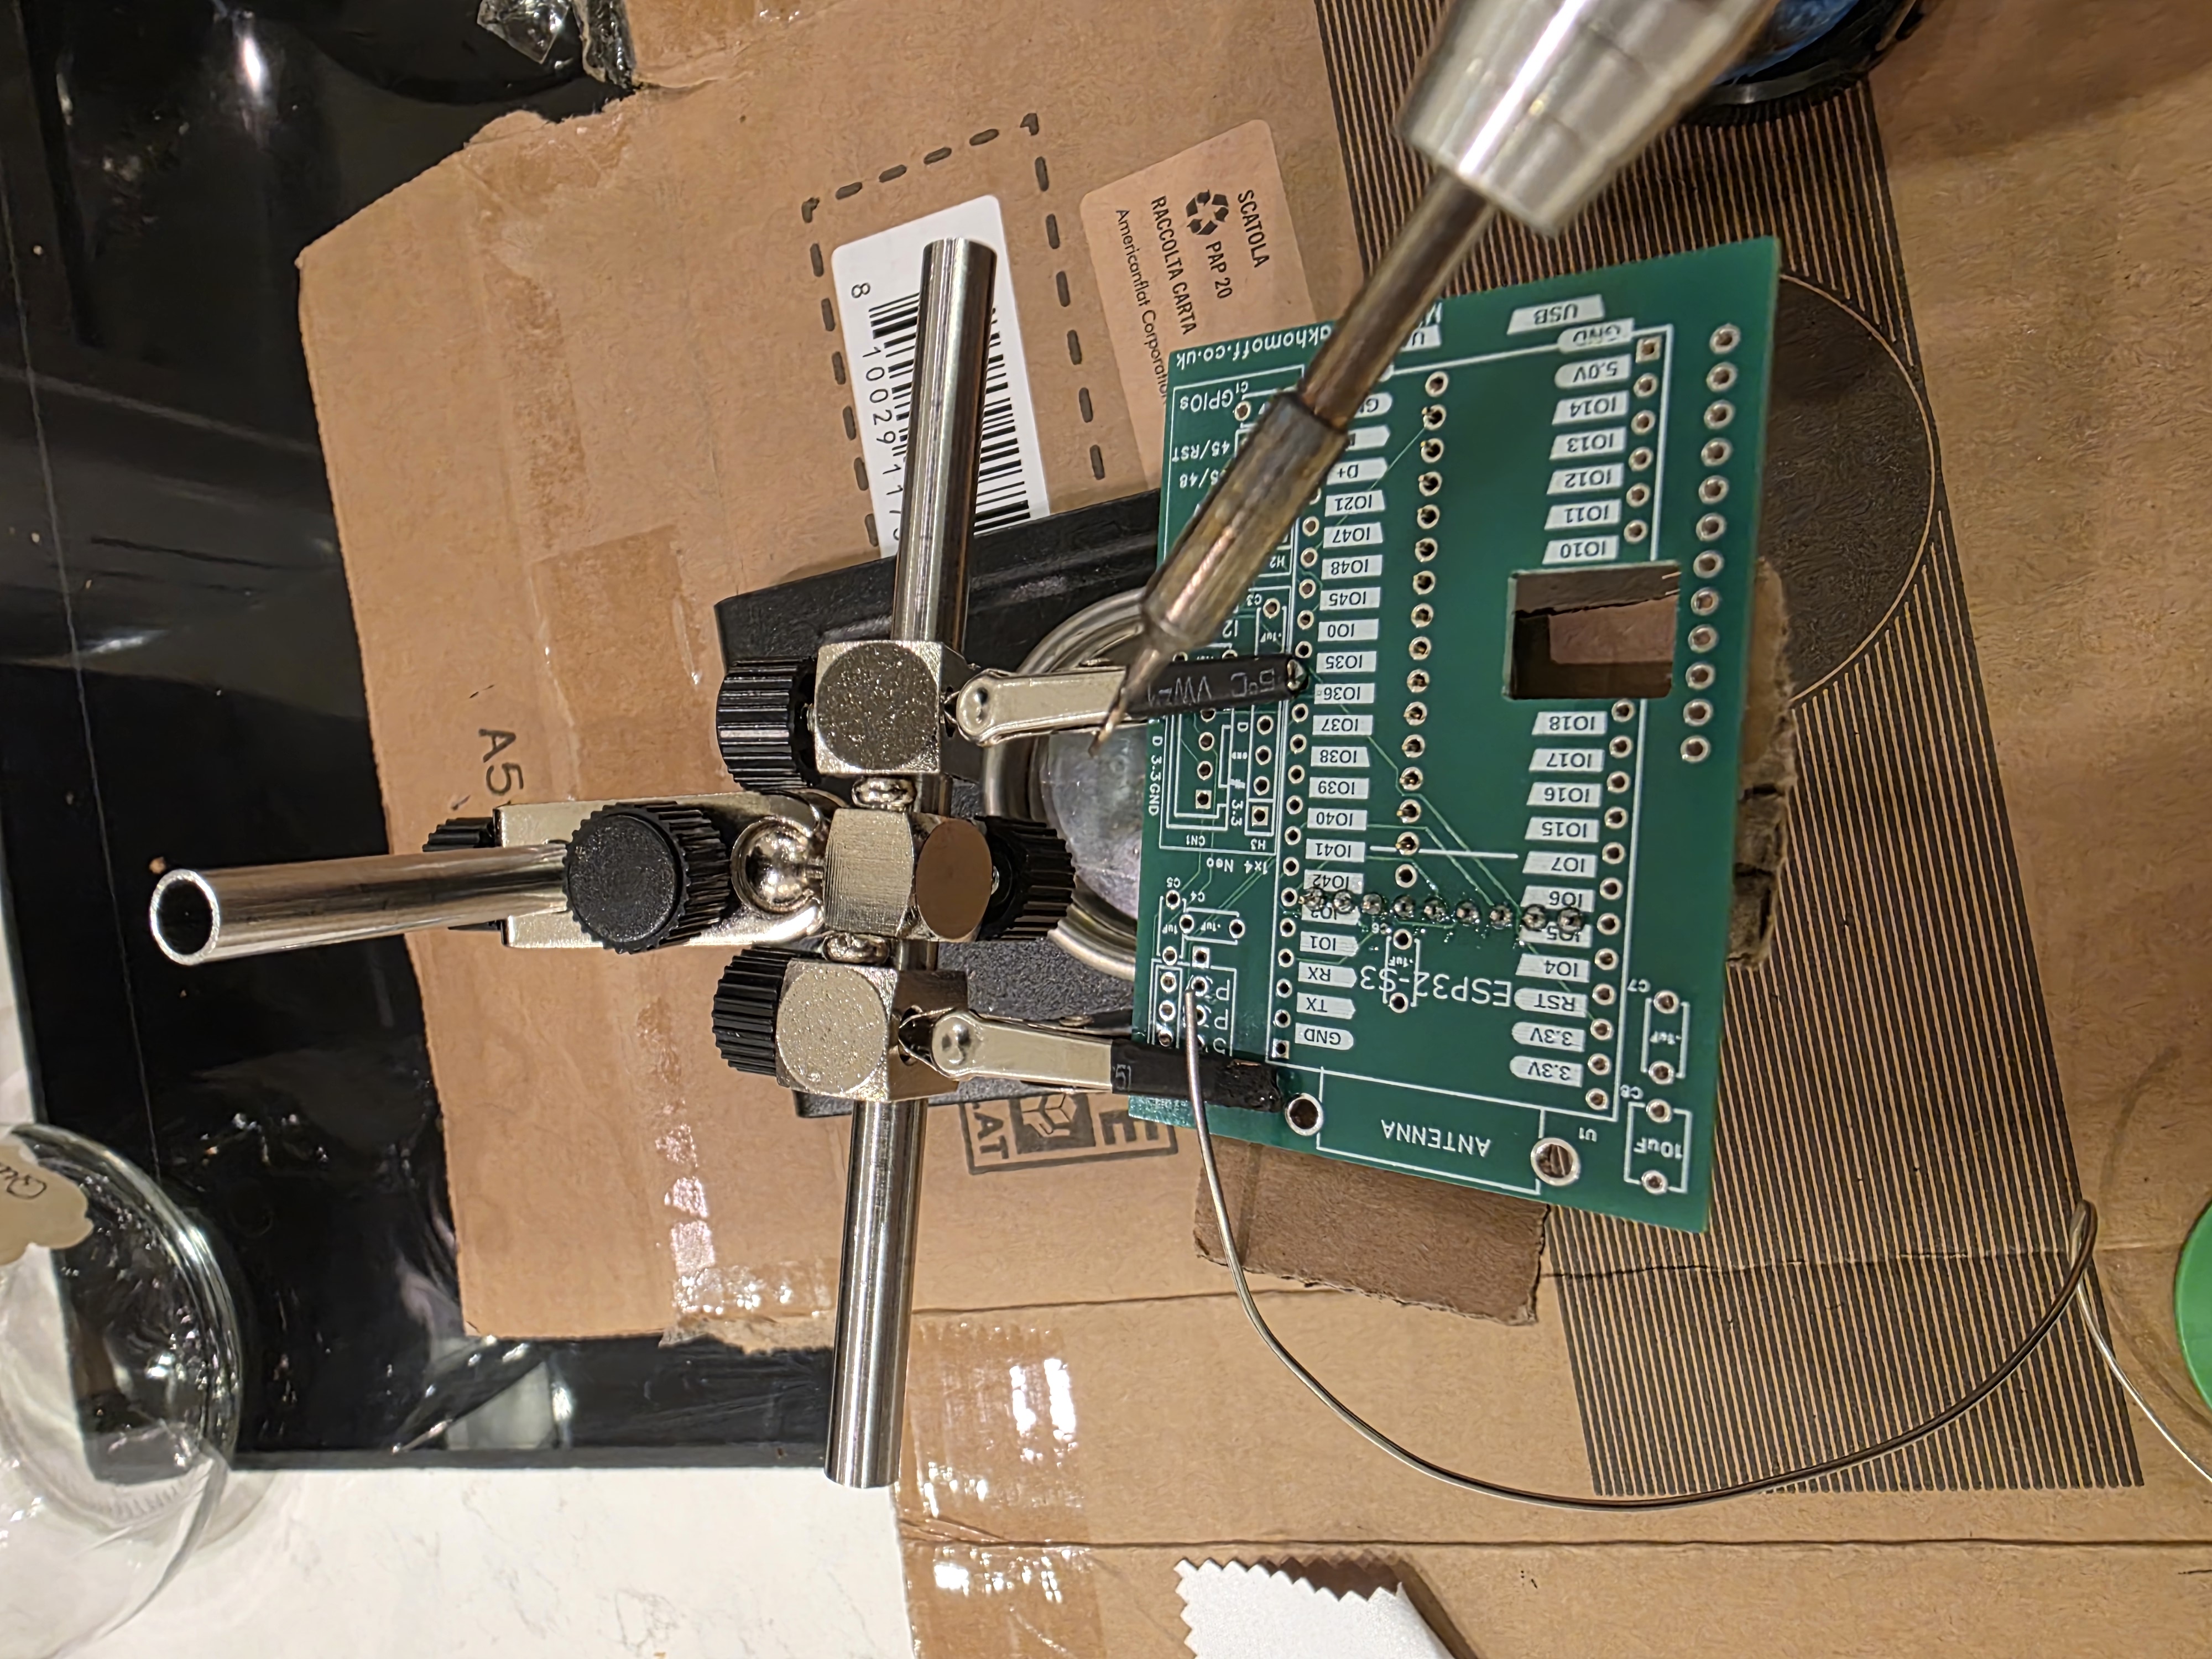
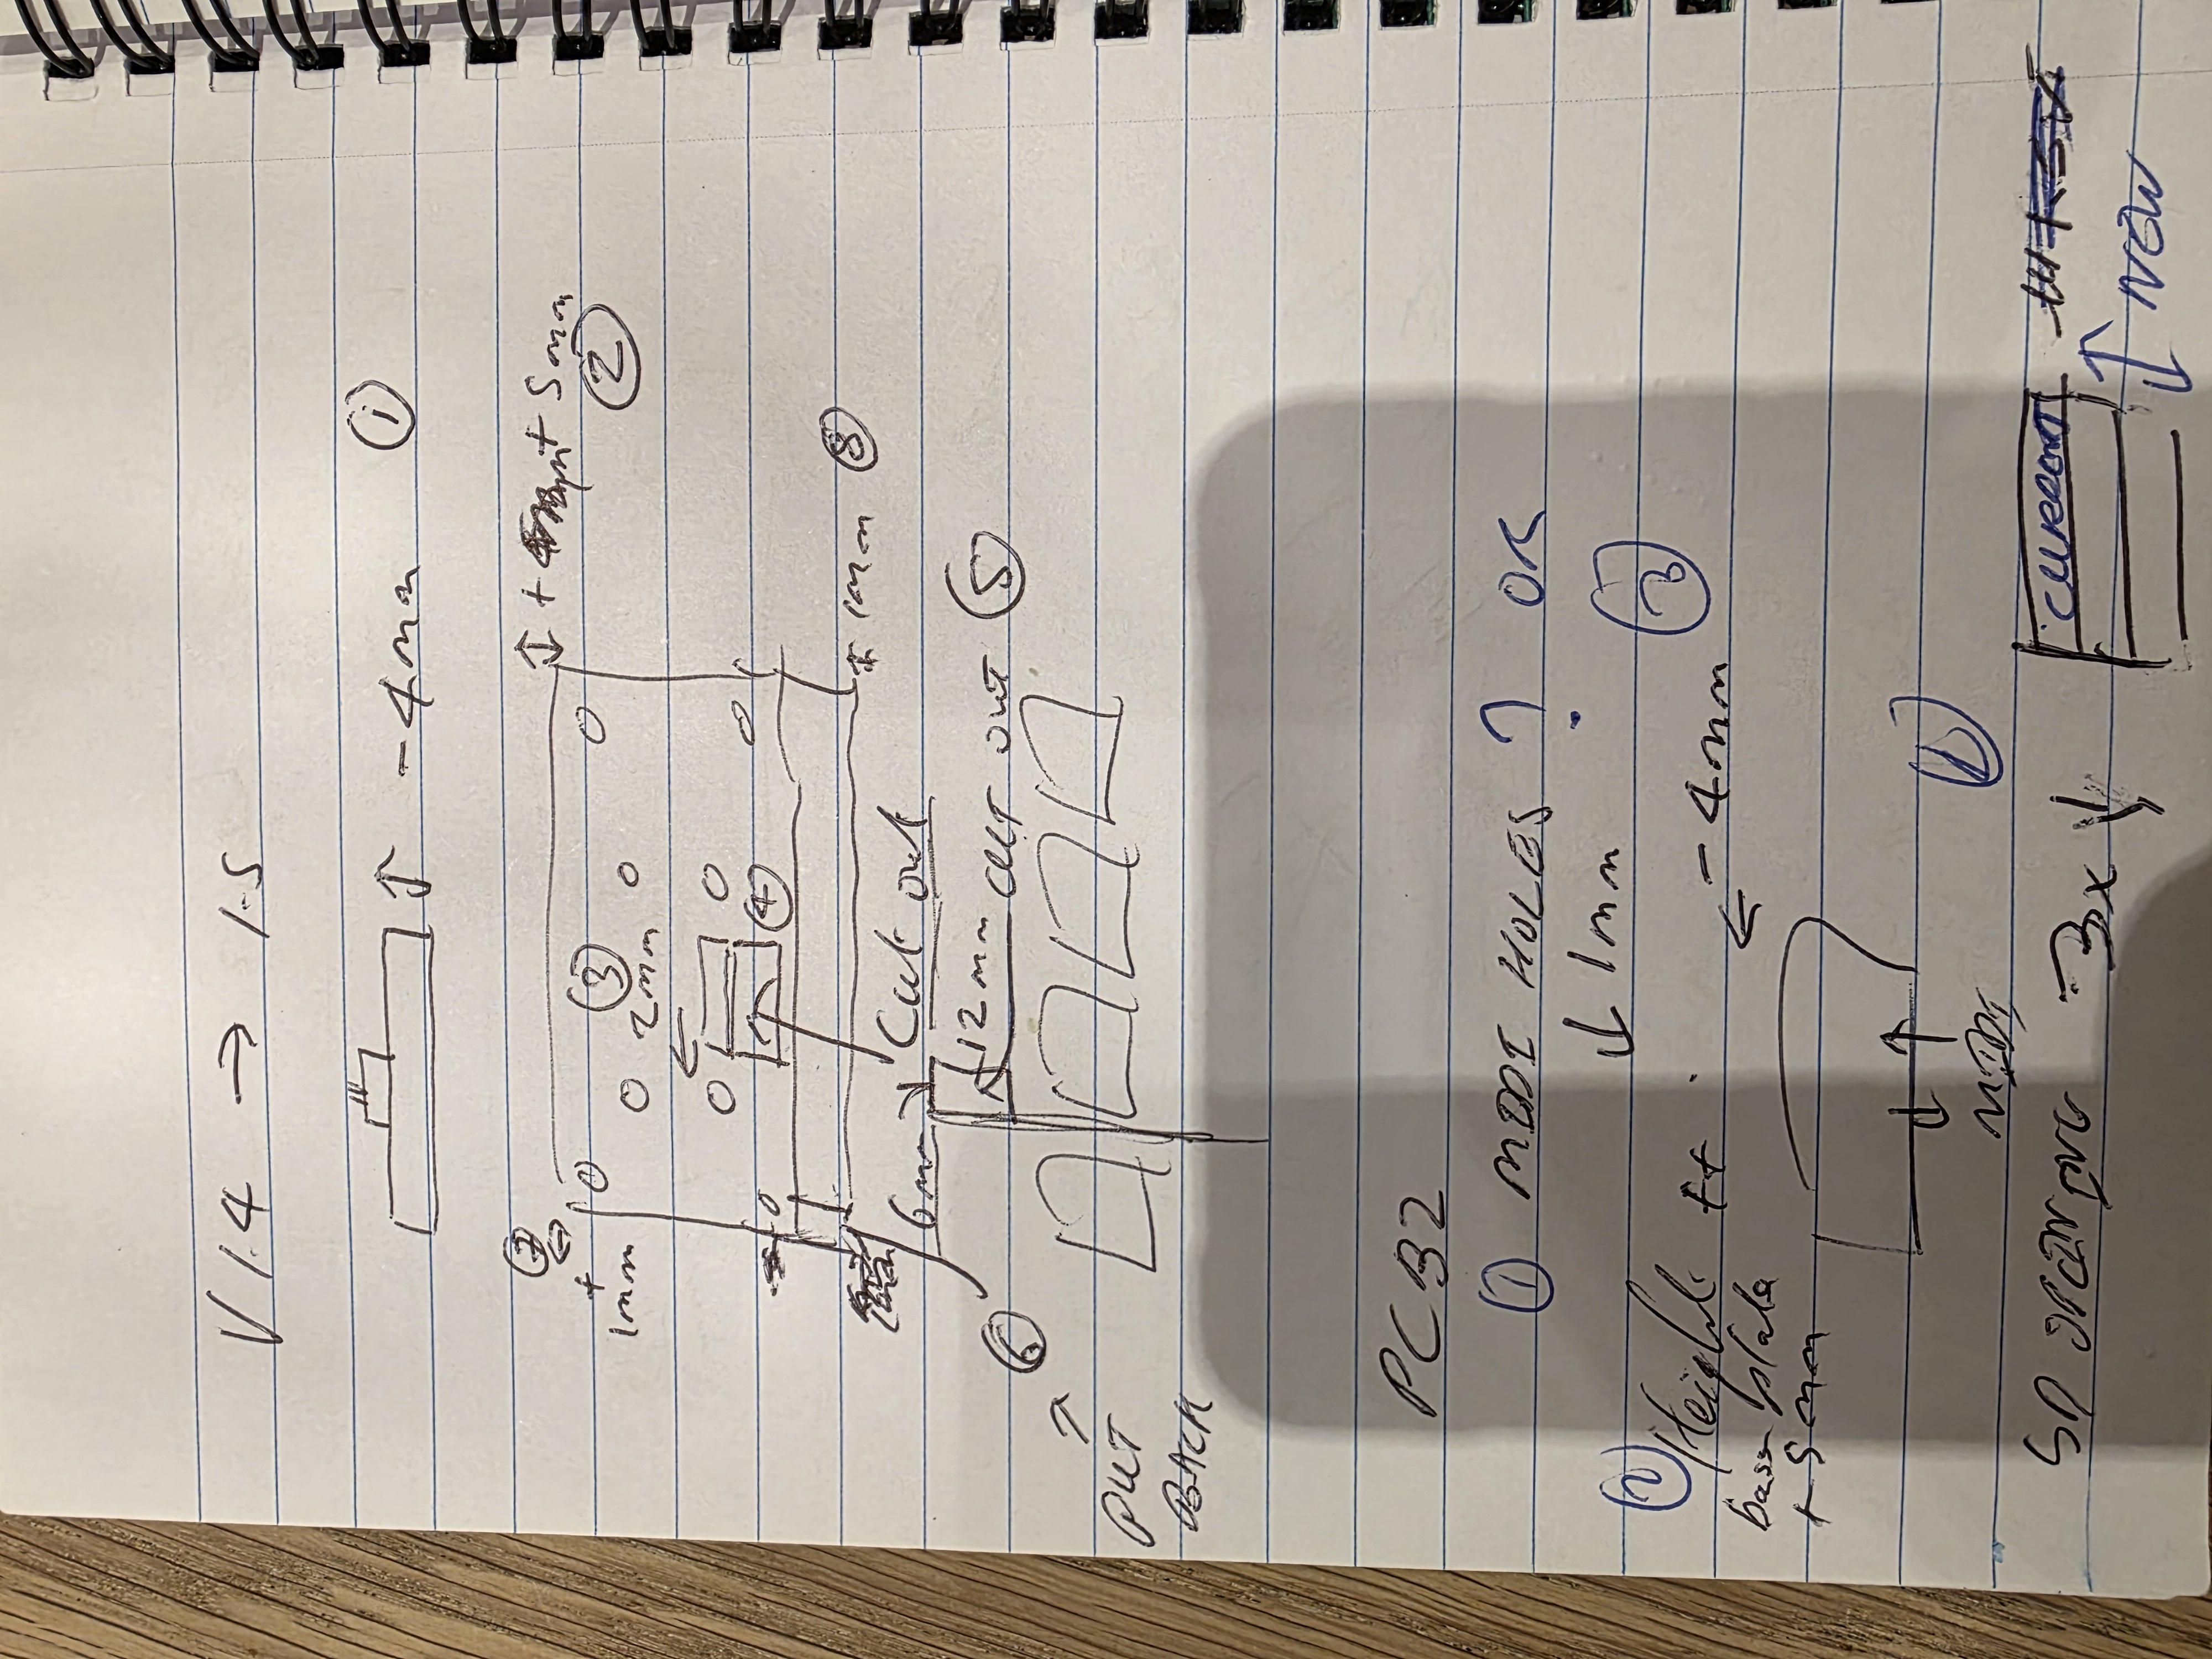
Jan 2026 — The custom PCBs arrive
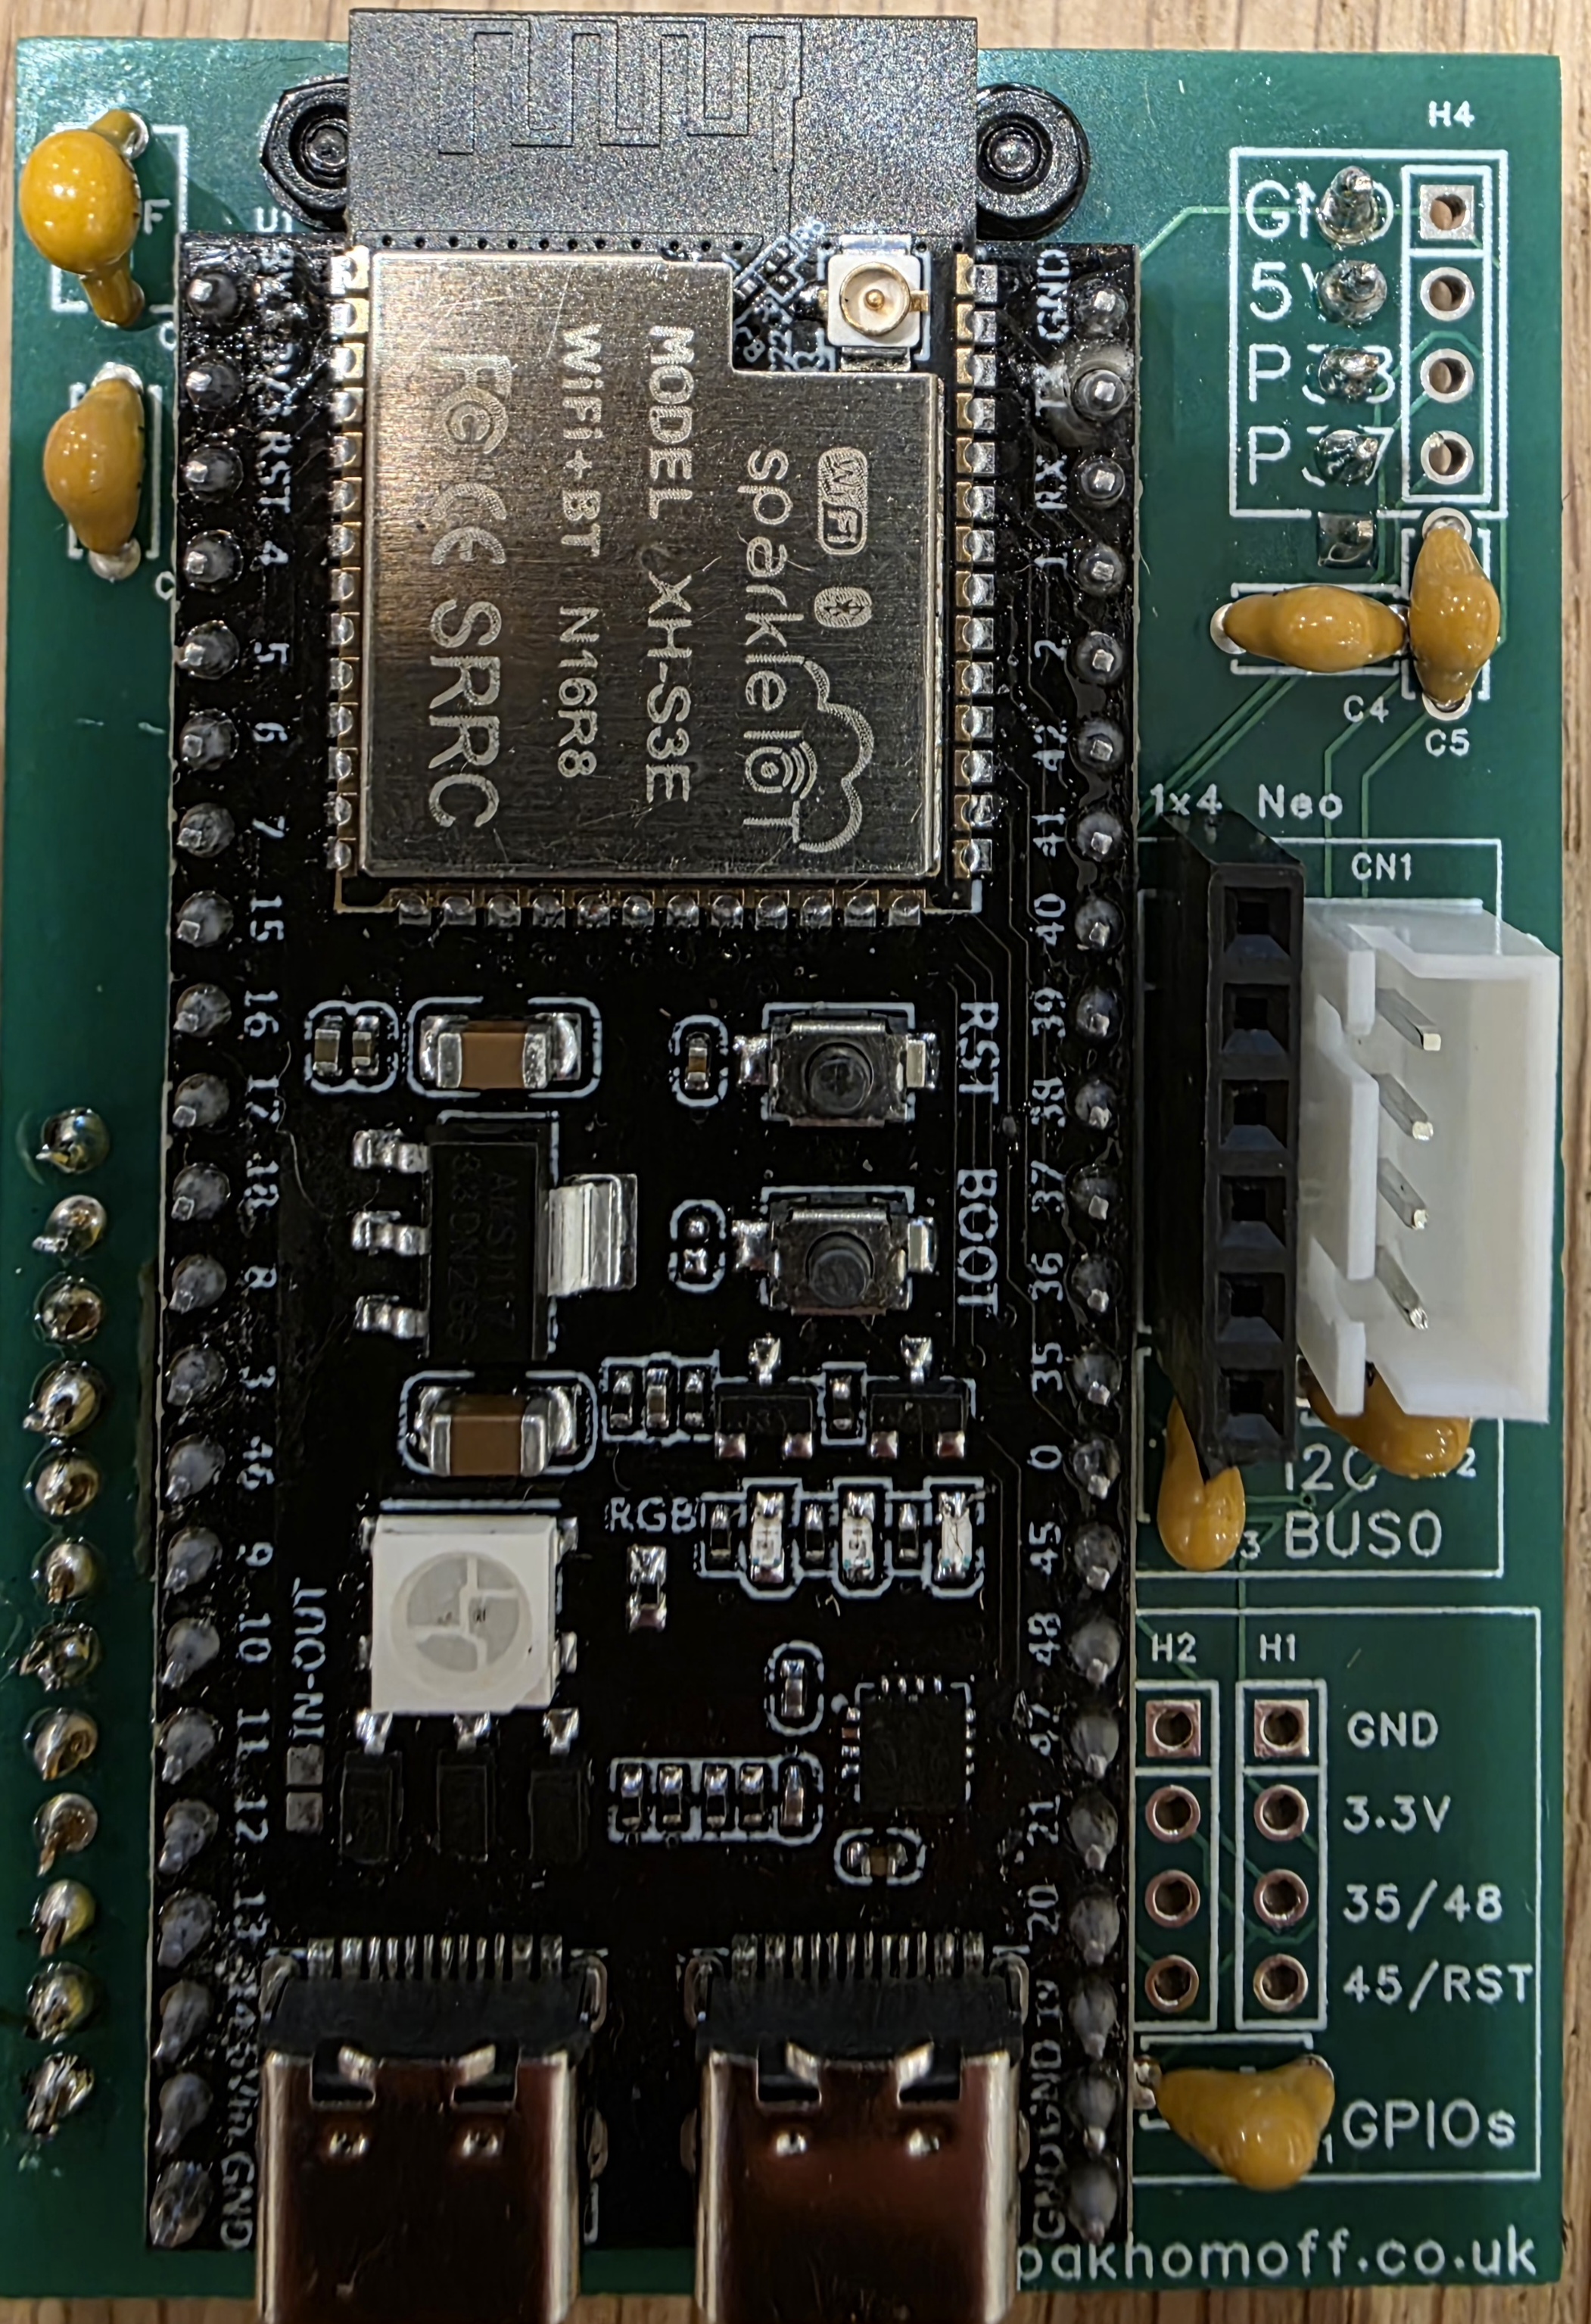
Jan 2026 — PCB assembly
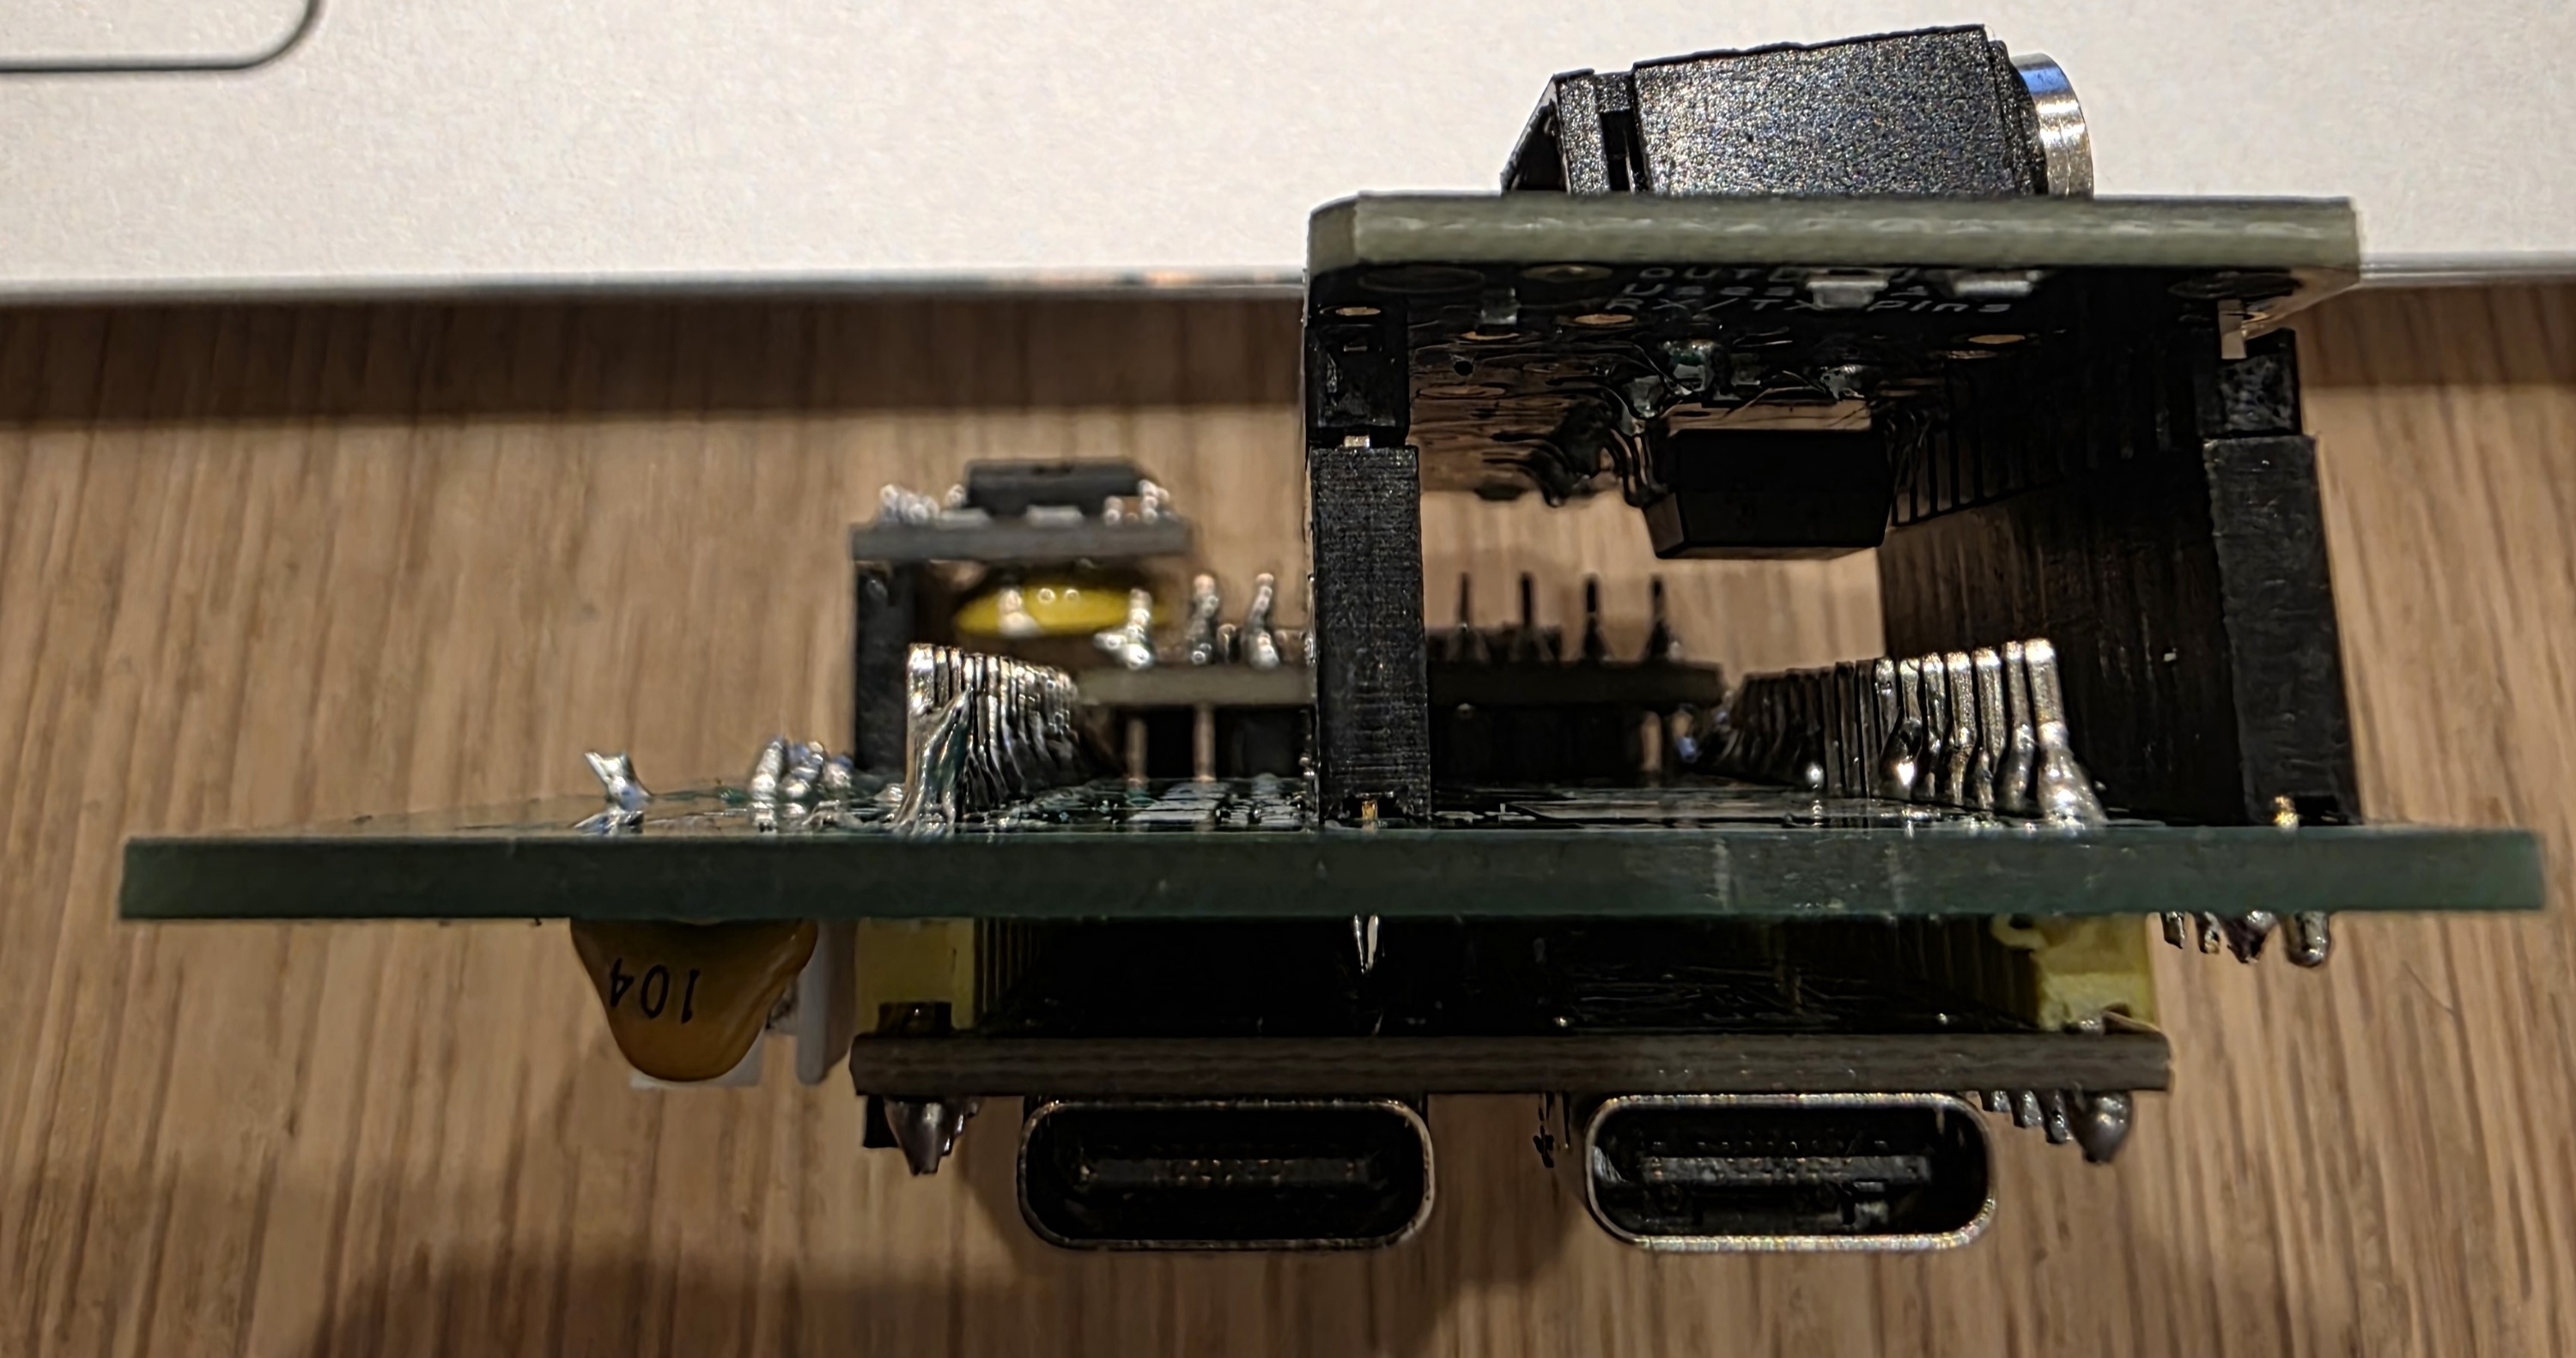
Jan 2026 — First working prototype with the PCBs
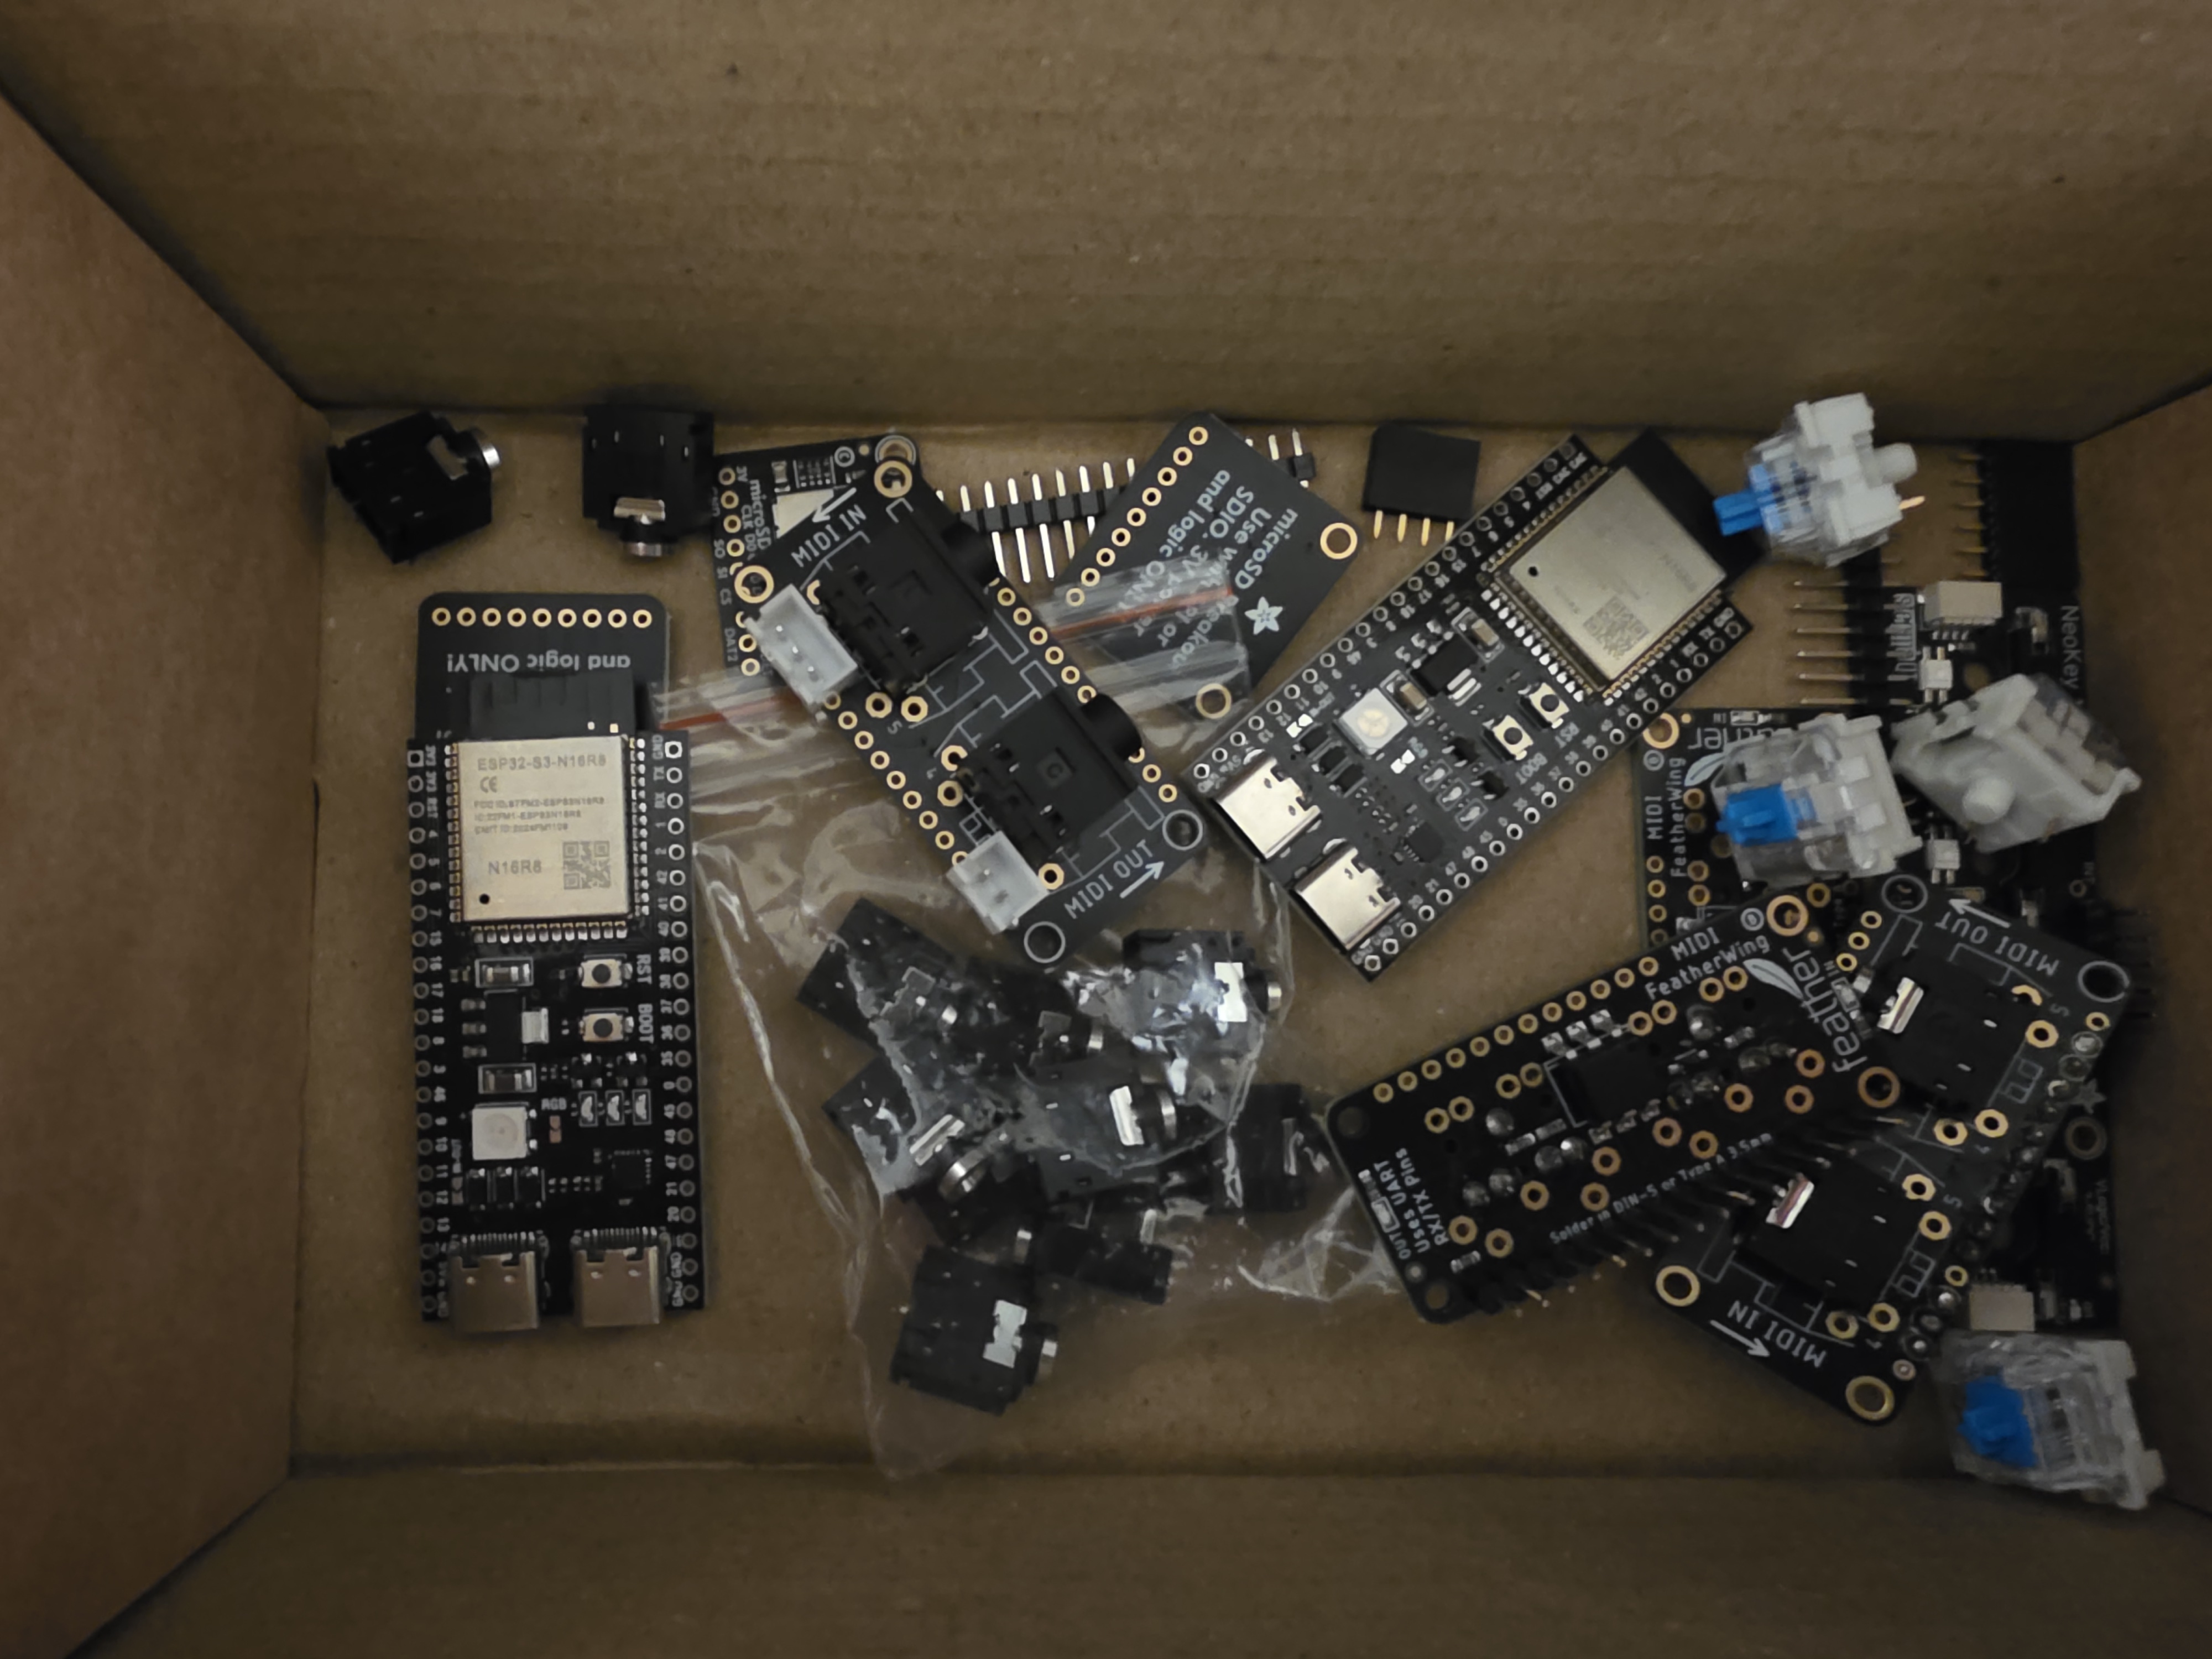
Mar 2026 — Components and modules
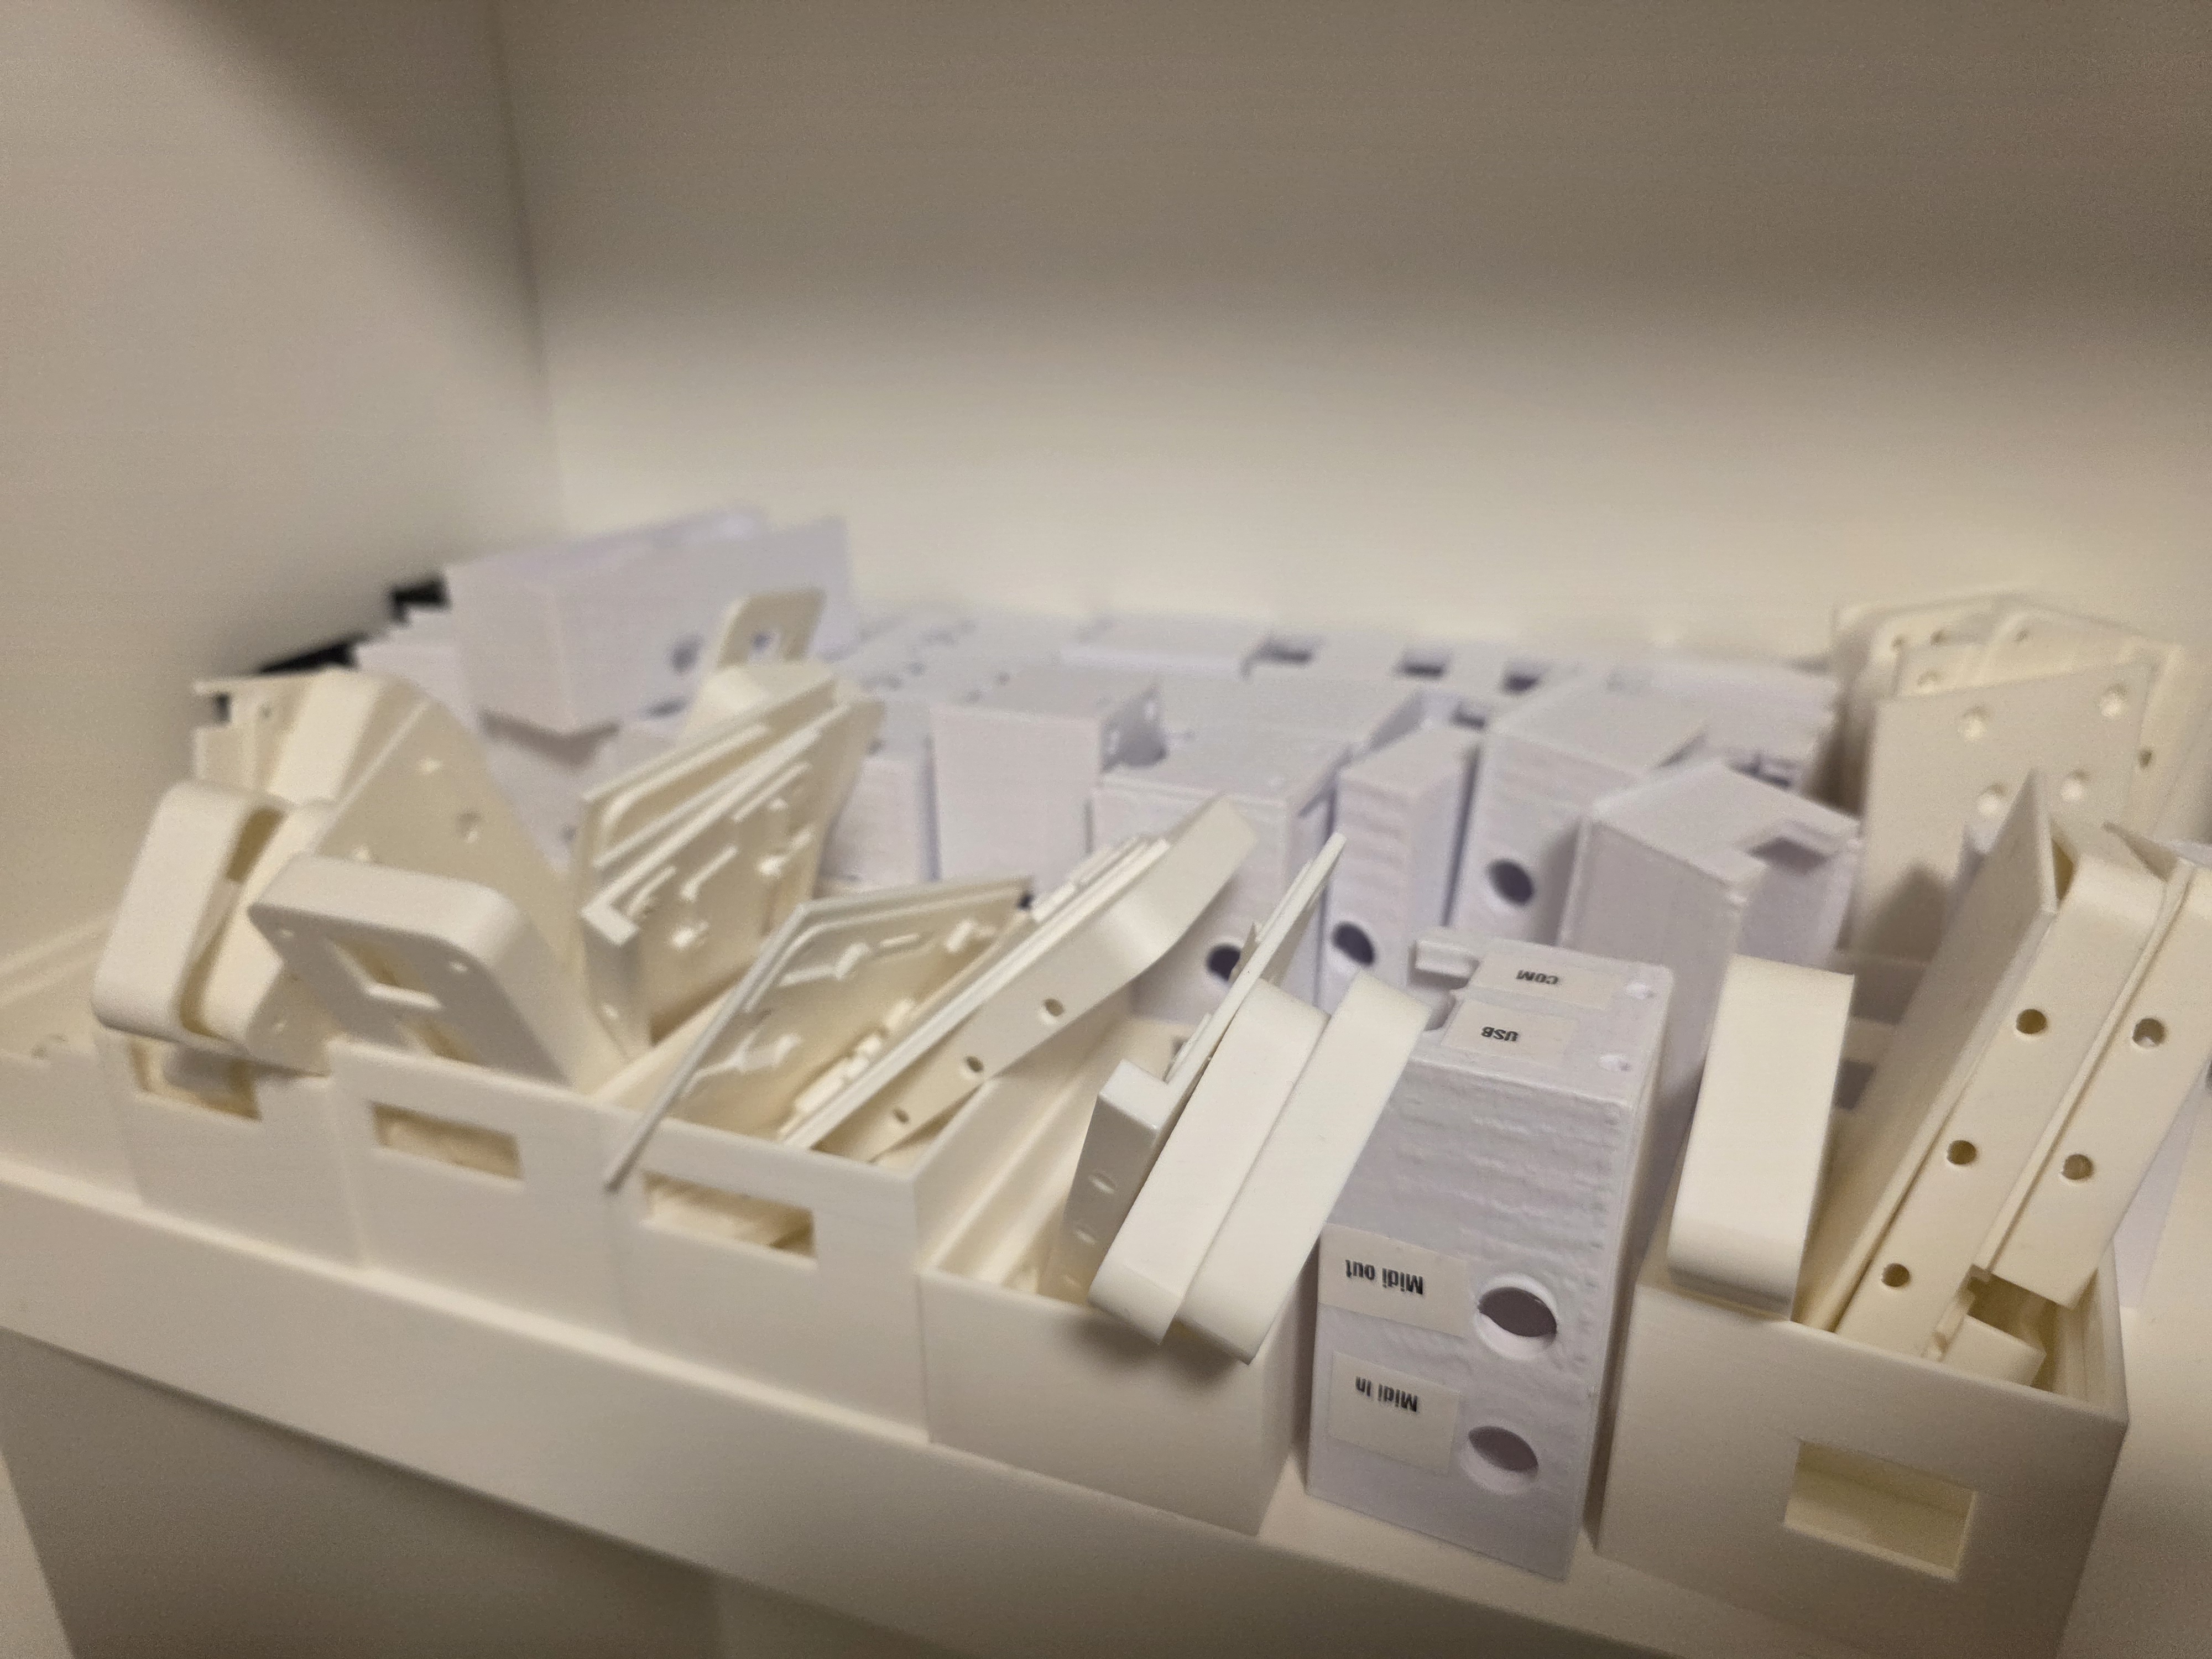
Mar 2026 — The 3D print enclosure graveyard
| Button | Idle | Browsing | Playback | Recording |
|---|---|---|---|---|
| LOOP |
Cycle loop mode | Cycle loop mode | ⏹ Stop | — |
| PREV |
— | ⏪ Previous track | ⏪ Rewind 1s | — |
| PLAY |
Browse mode | ▶ Play selected | ⏹ Stop | End now |
| NEXT |
— | ⏩ Next track | ⏩ Skip 1s | — |
WiFi Mode: Hold + for 2s while idle, or hold at power-on · Network: echobox · Password: midi1234 · Address: http://192.168.4.1
Screen Saver: Display off after 30s inactivity · Press any button or play a note to wake.
Enjoy creating!
Concept, design, programming and assembly by Mischa@Pakhomoff.co.uk